A photographic guide to the fine art of chemical etching.
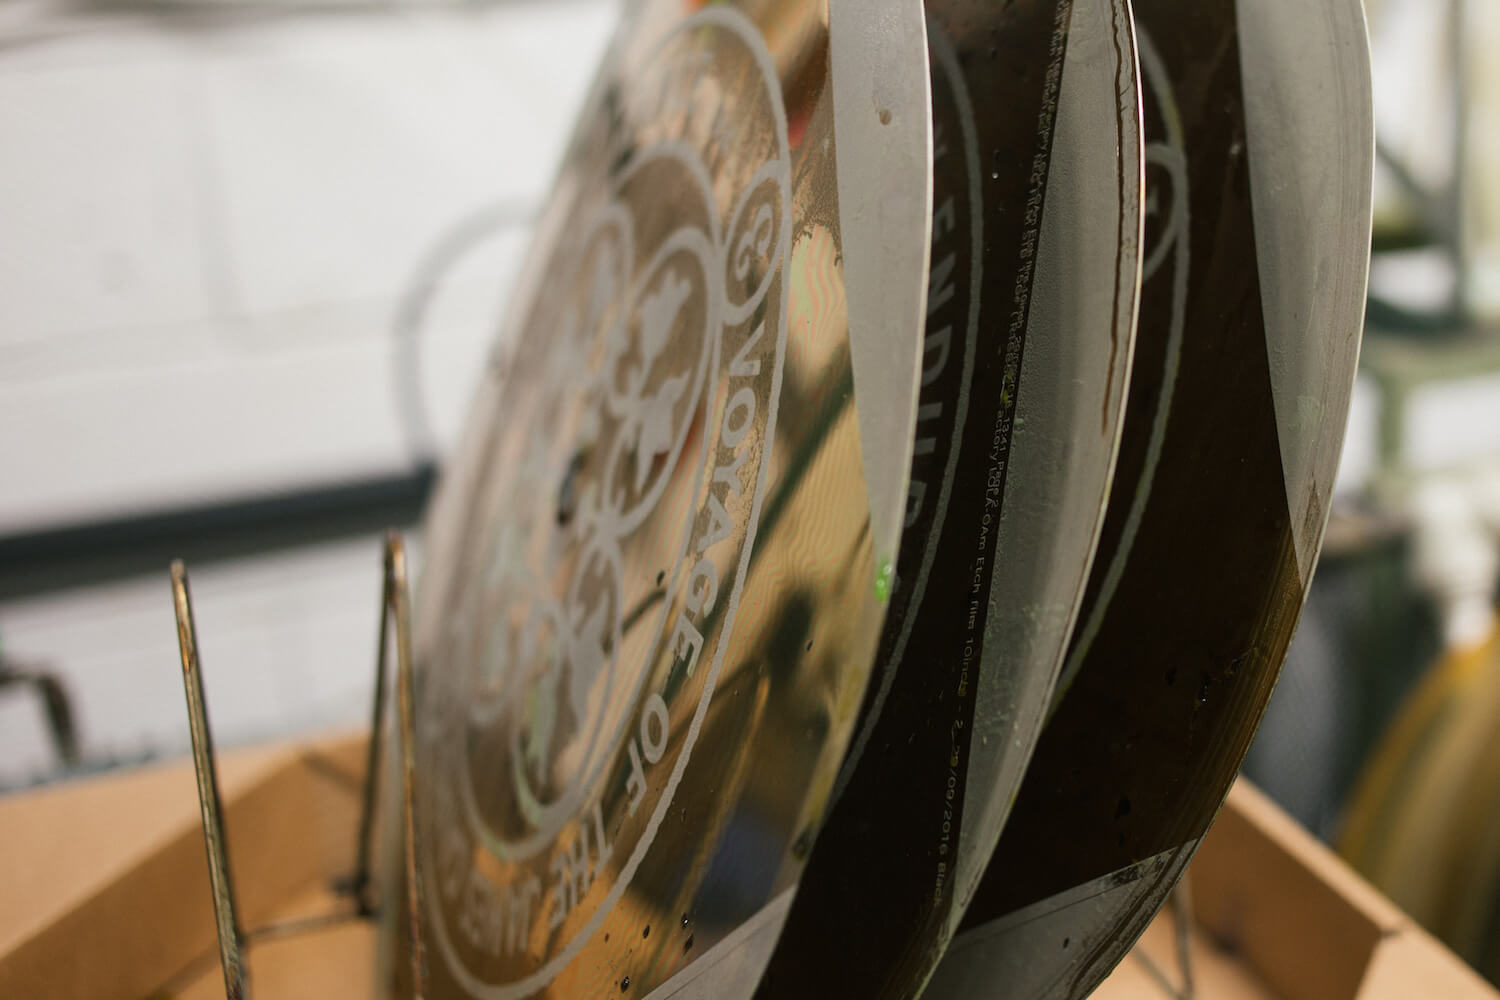
Like coloured vinyl, etched records are among the most collectable and visually exciting you can get your hands on. While laser etching has taken the technology into new realms, the age-old craft of chemical etching is a more complex and sensitive process not dissimilar to exposing a photographic film. Here though, the image is etched into the metal work using a number of corrosive solutions before it is pressed onto vinyl.
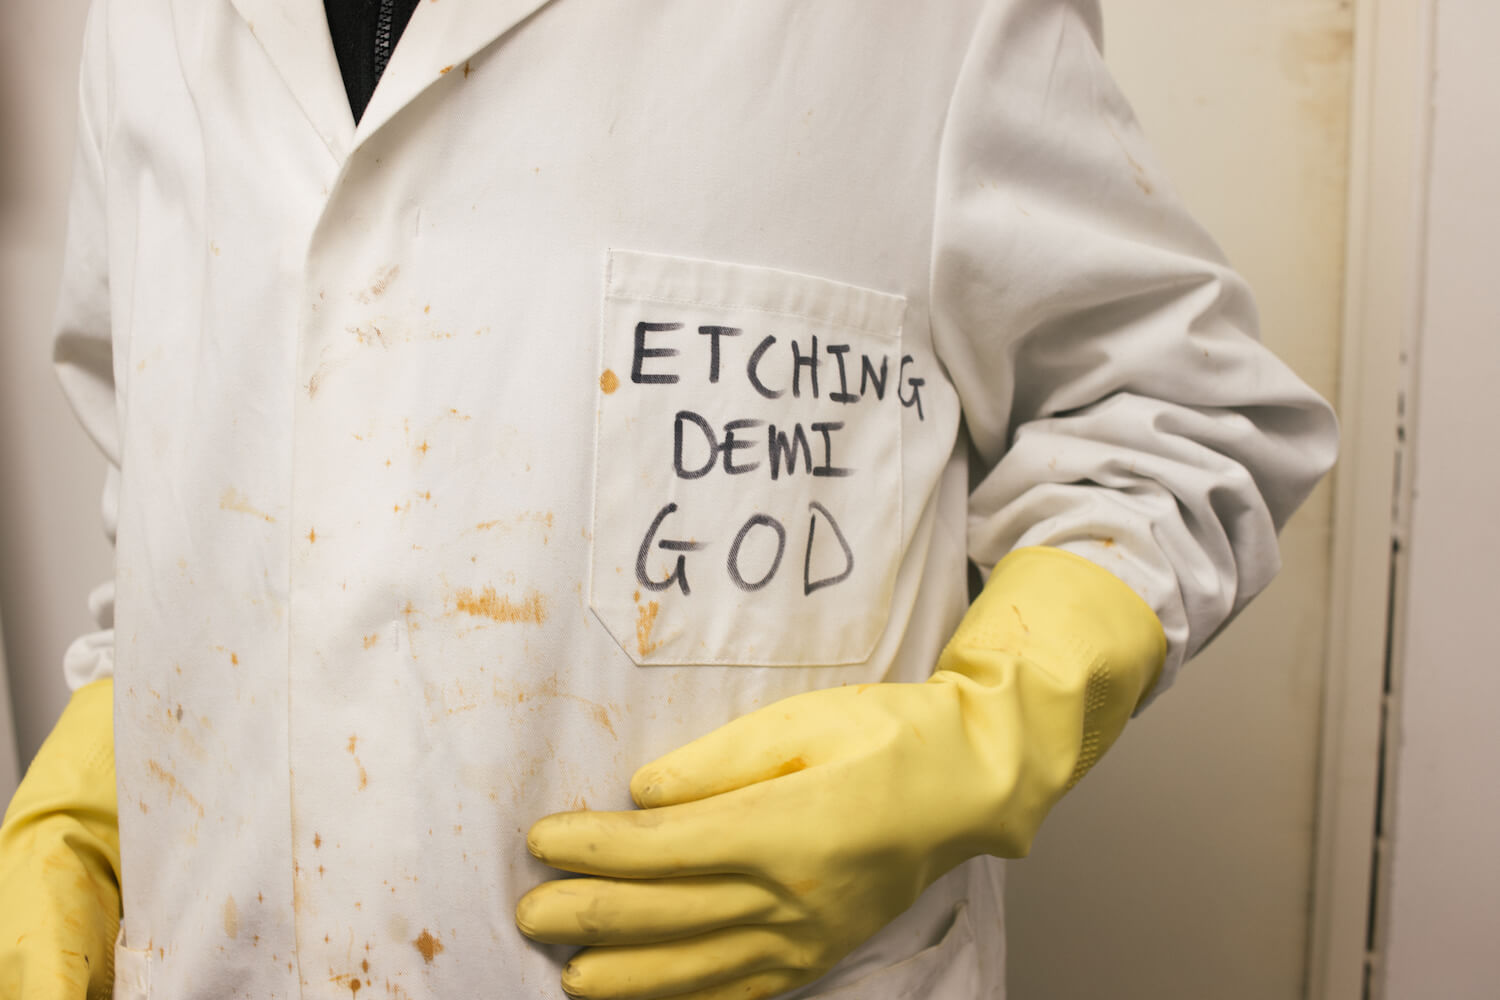
Usually on the back of a single-sided 12″ – as with our new Christian Marclay & Mats Gustafsson release – we asked The Vinyl Factory’s etching demi-god Leighton Harris to talk us through the process.
Words: Leighton Harris / Photography: Michael Wilkin

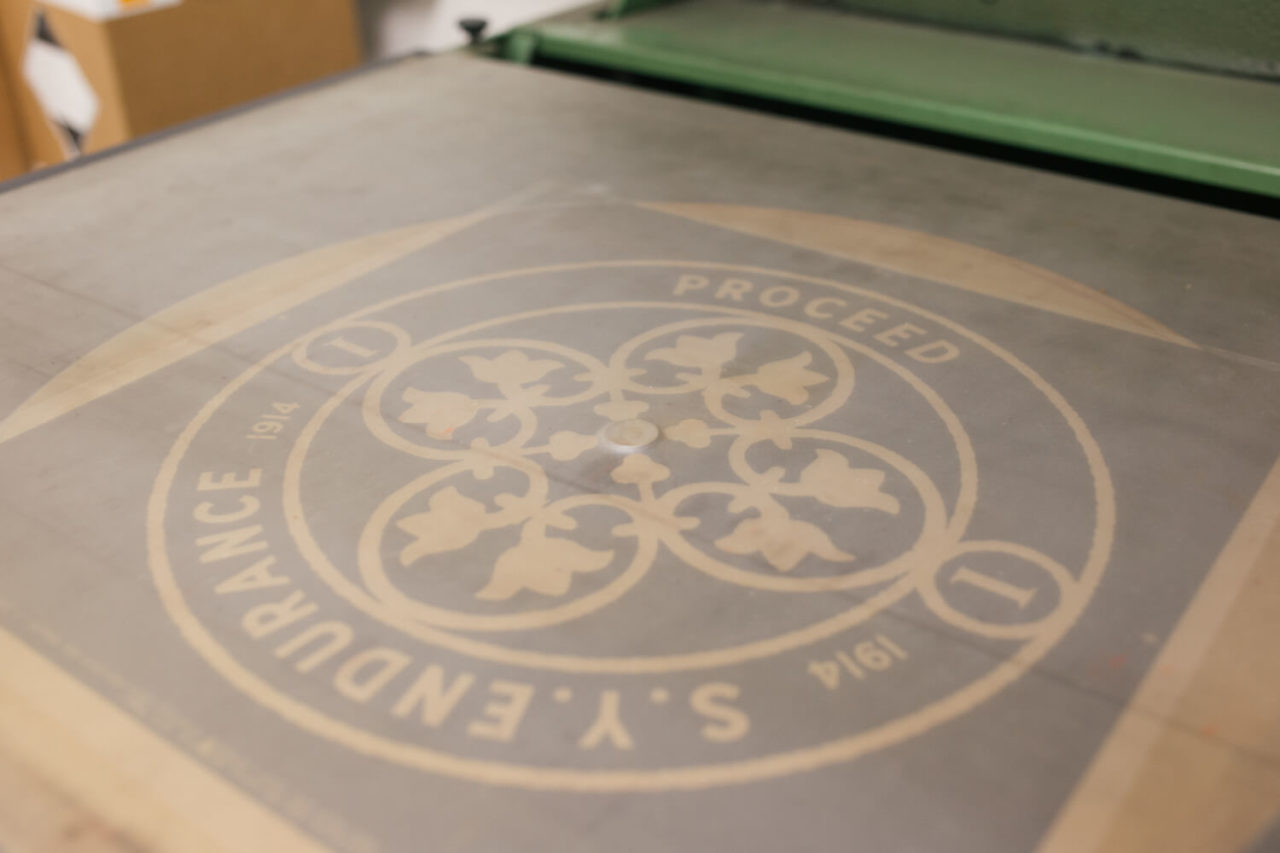
We start with a mirrorback, which is a flat nickel plate without any grooves. We inspect this for any marks, debris or blemishes, which will contaminate and affect the etching process. If it’s a perfect mirror finish we are good to proceed. Note the etching engineer is a handsome chap!
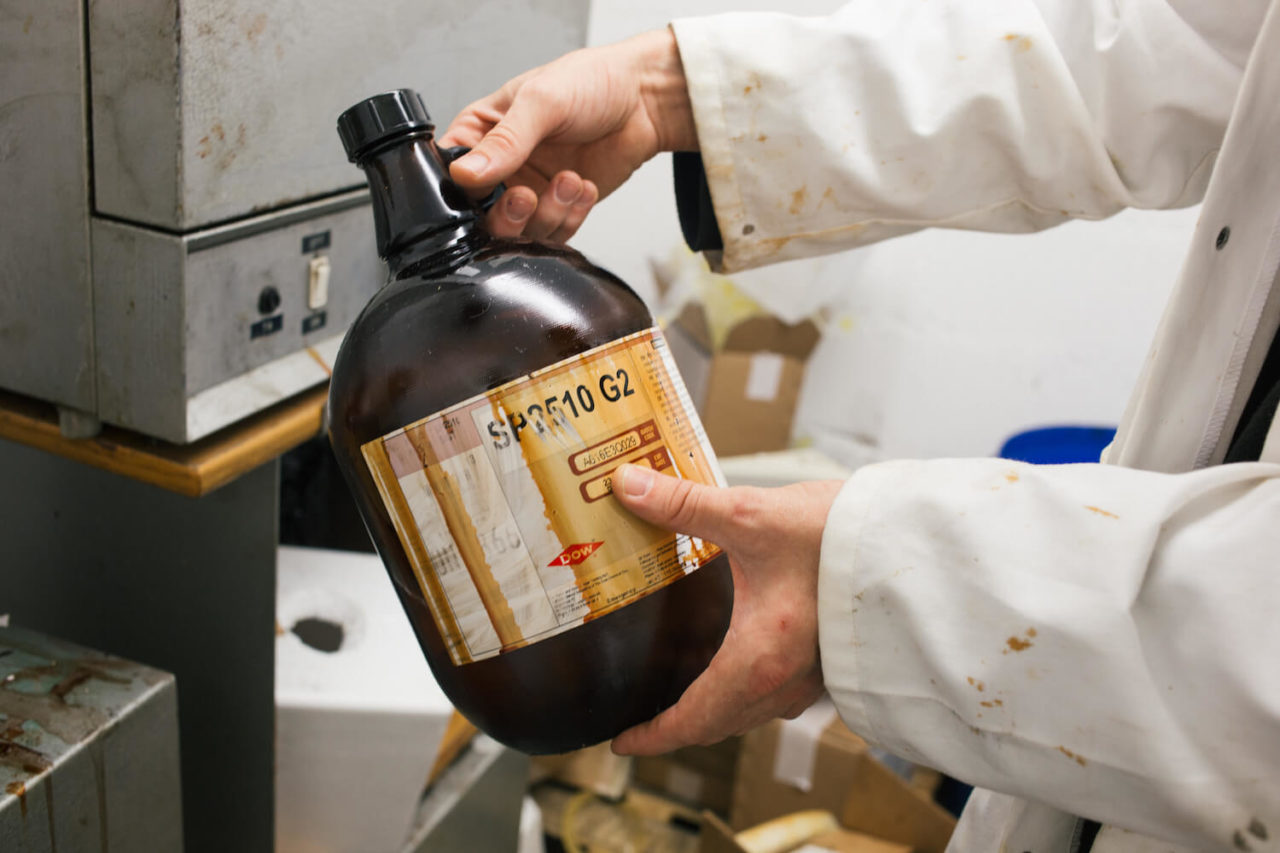
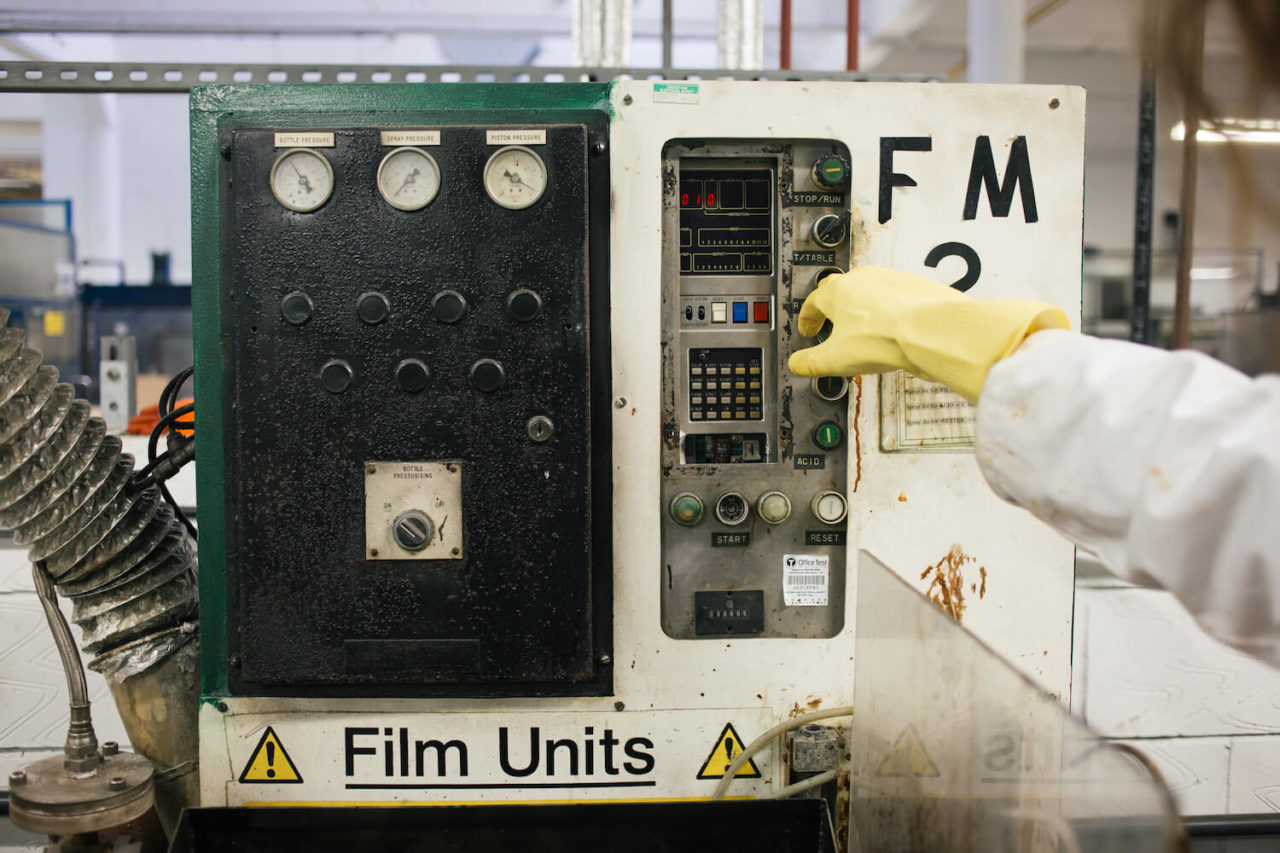
A U.V light sensitive, protective dipping fluid is added to the dipping machine. This is run for 10-15 mins to filter the dipping fluid of any suspended contaminants. This also allows any bubbles to dissipate.
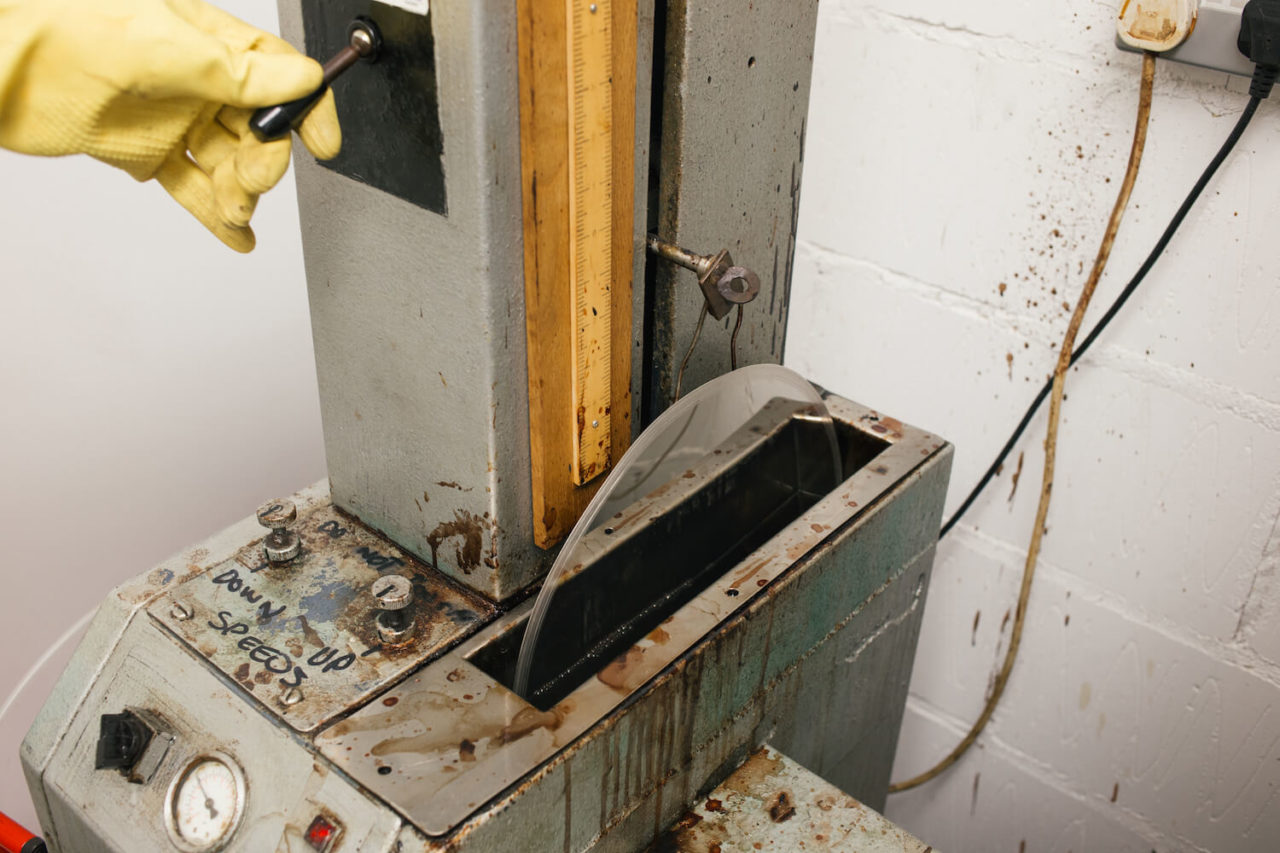

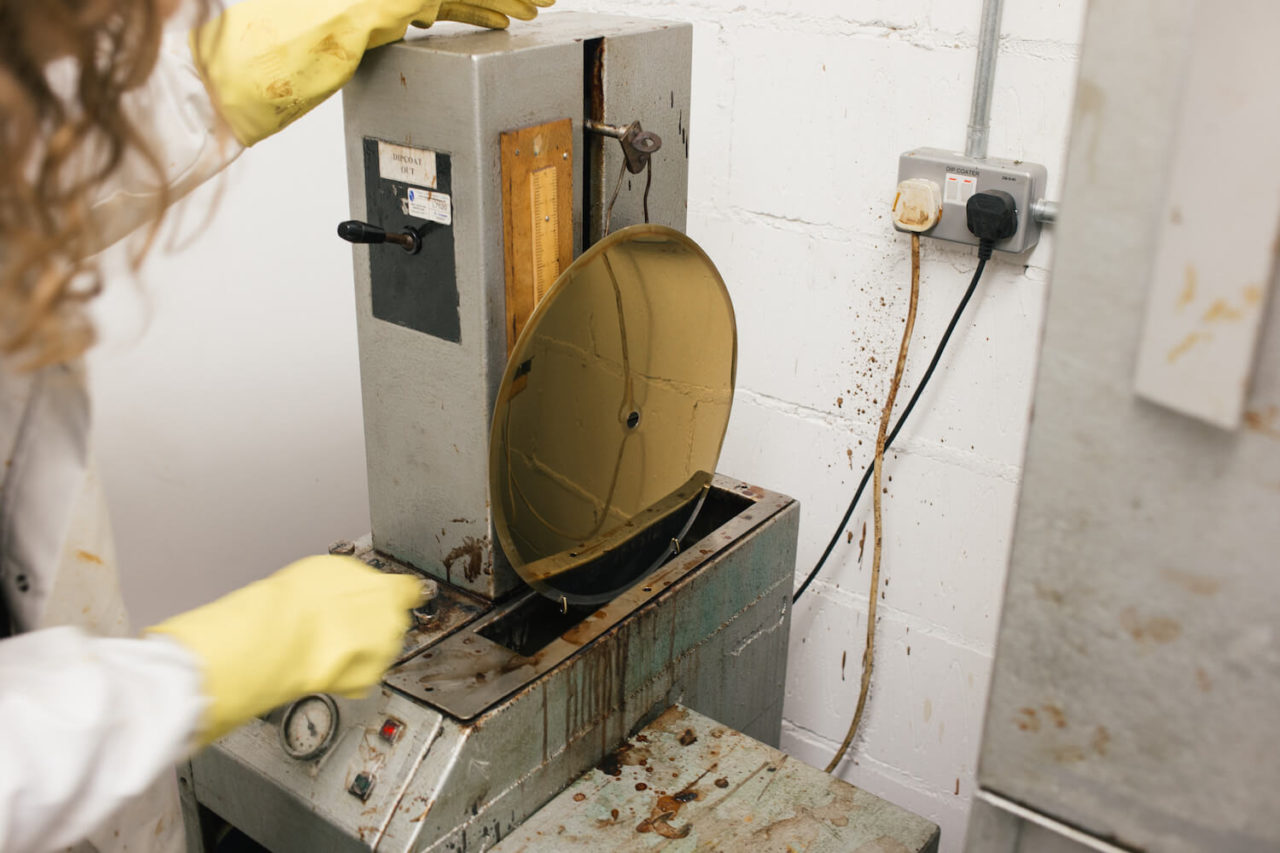
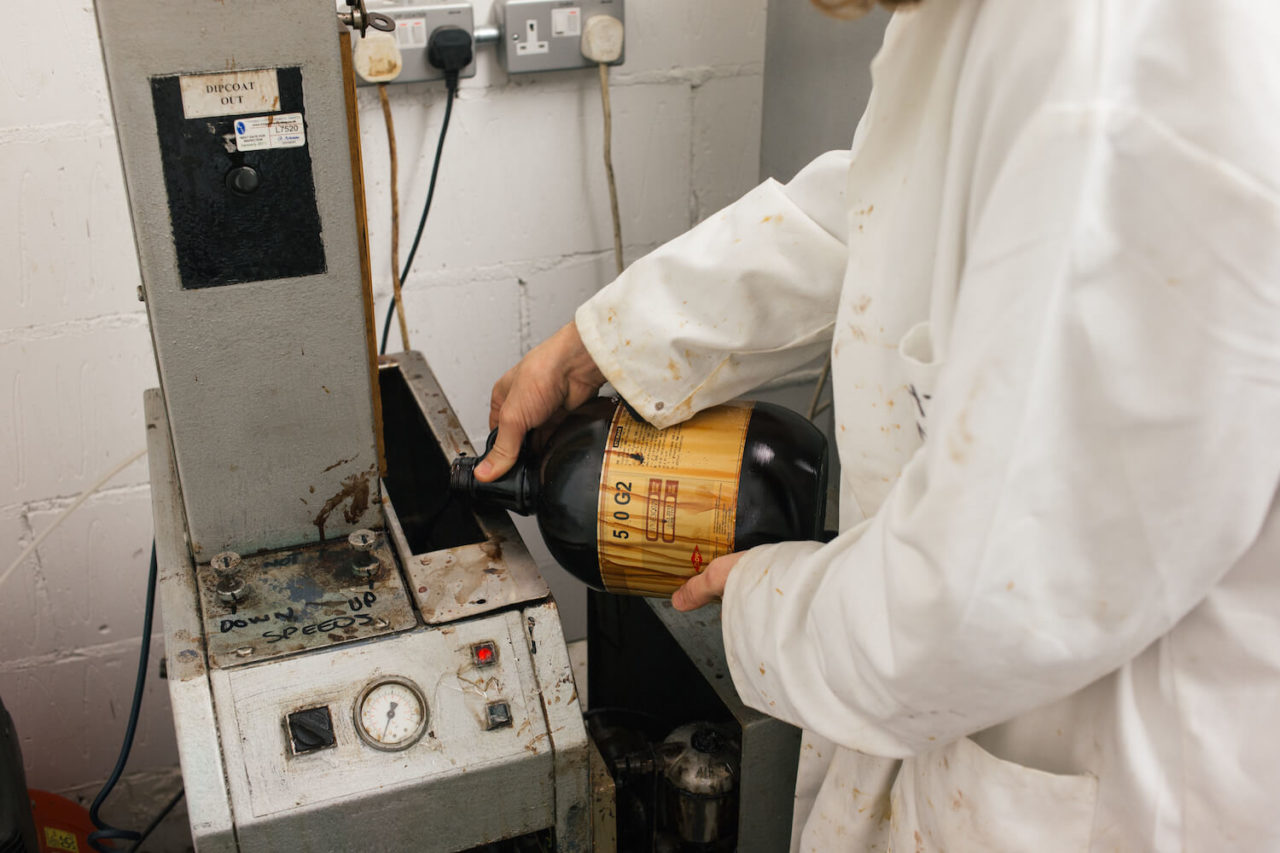
The mirrorback is added onto the dipping machine’s rails. The mirrorback is then lowered into the UV sensitive dip via a compressed air piston. The speed of this can be adjusted. This is a farly slow, constant motion. It means that the layer of UV sensitive fluid is evenly spread across the mirrorback and prevents streaks from forming.
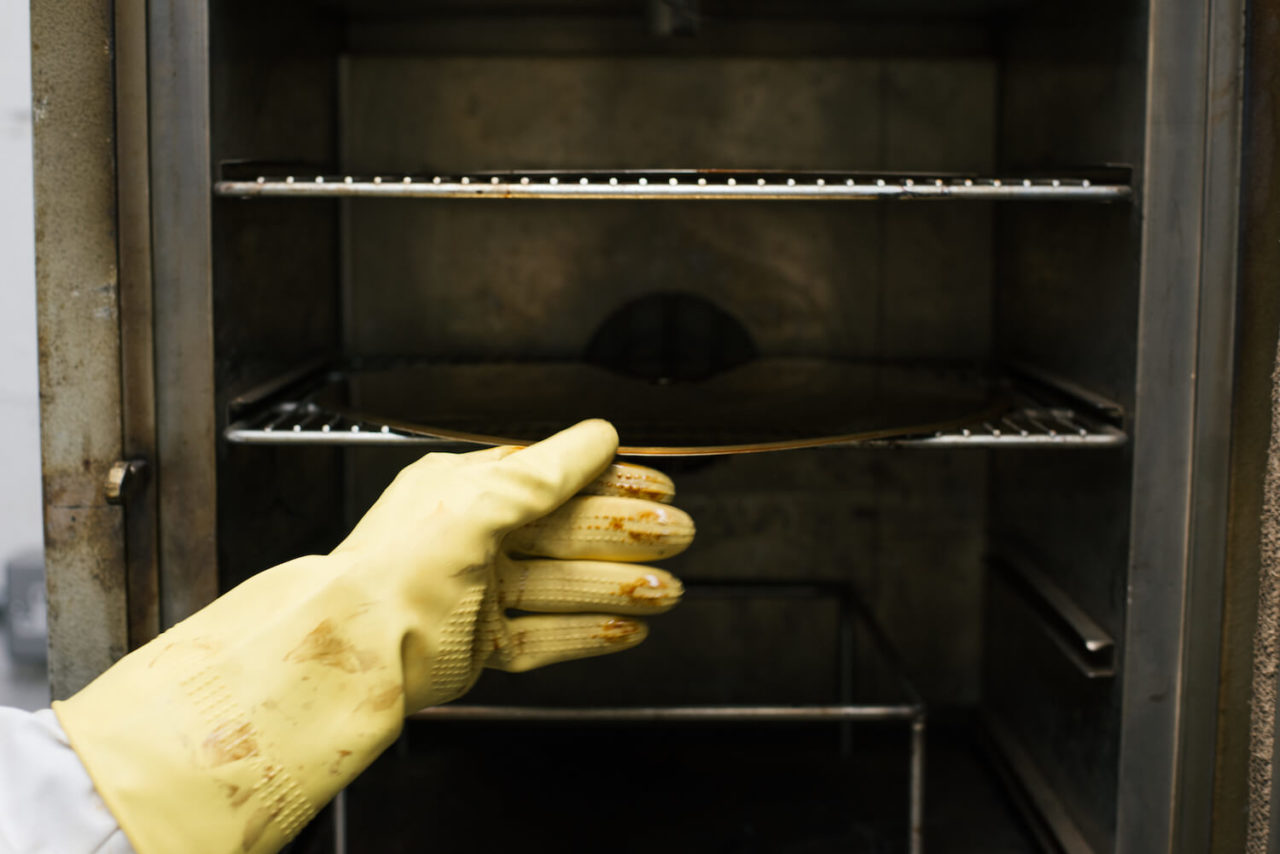
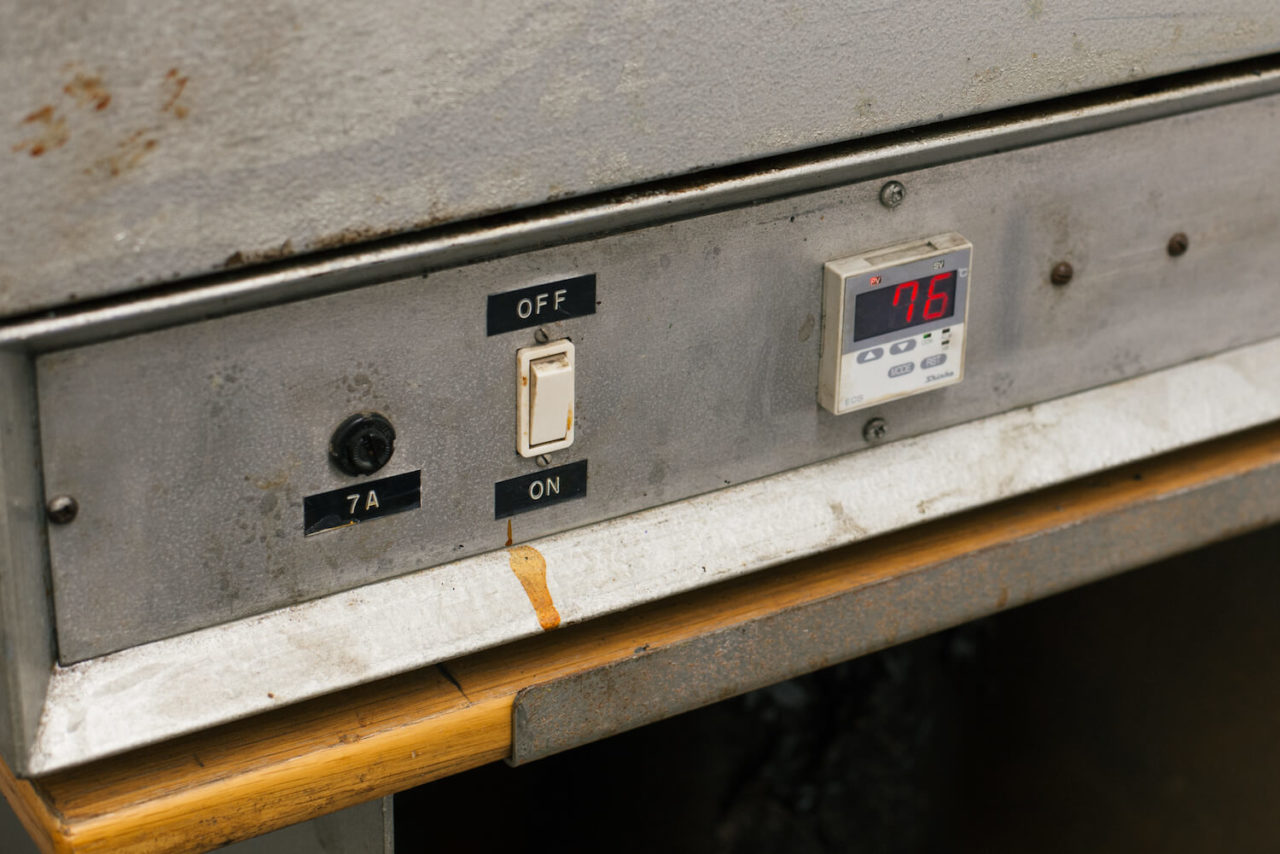
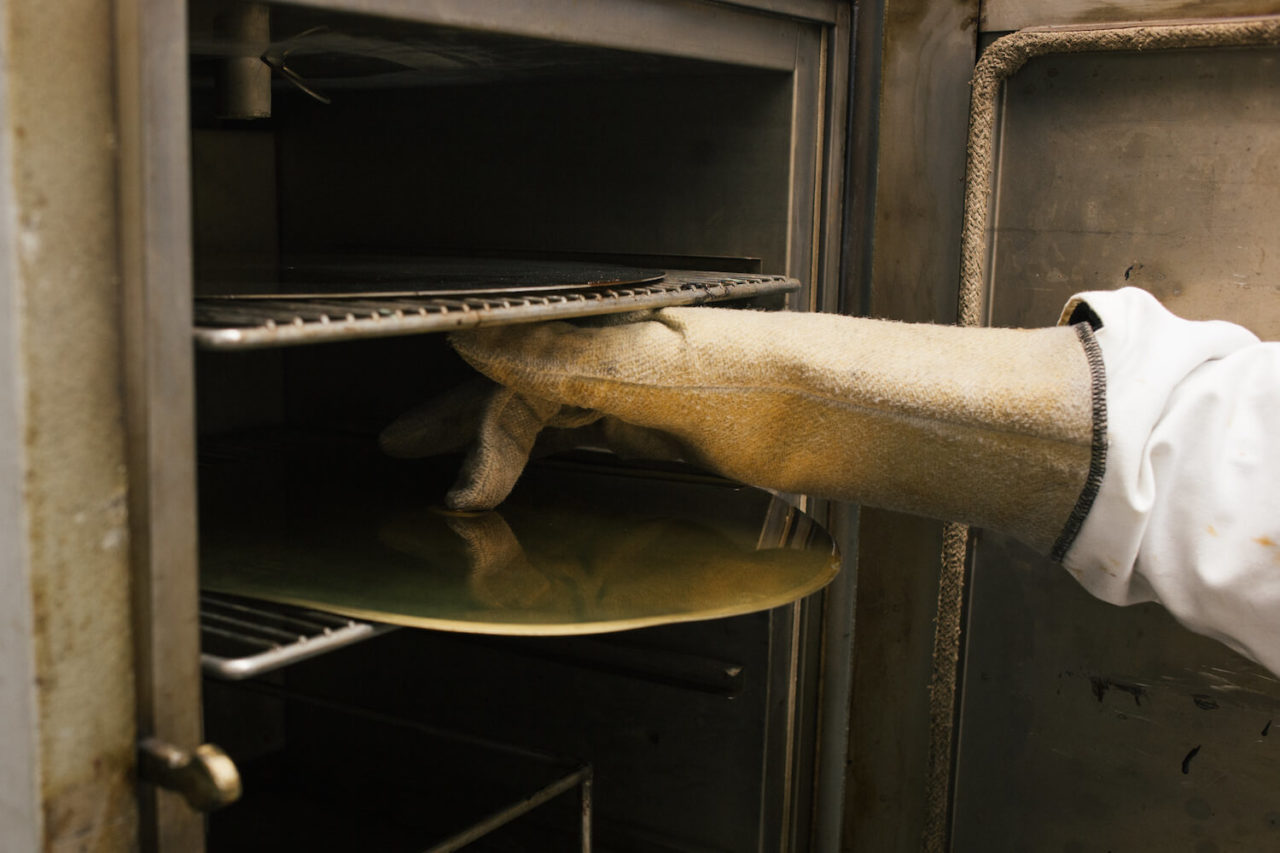
The mirrorback is removed from the dipping machine and placed into the oven at 90 degrees. This dries the UV sensitive dipping fluid into a solid, protective, amber coating.
It bakes for 10 mins.
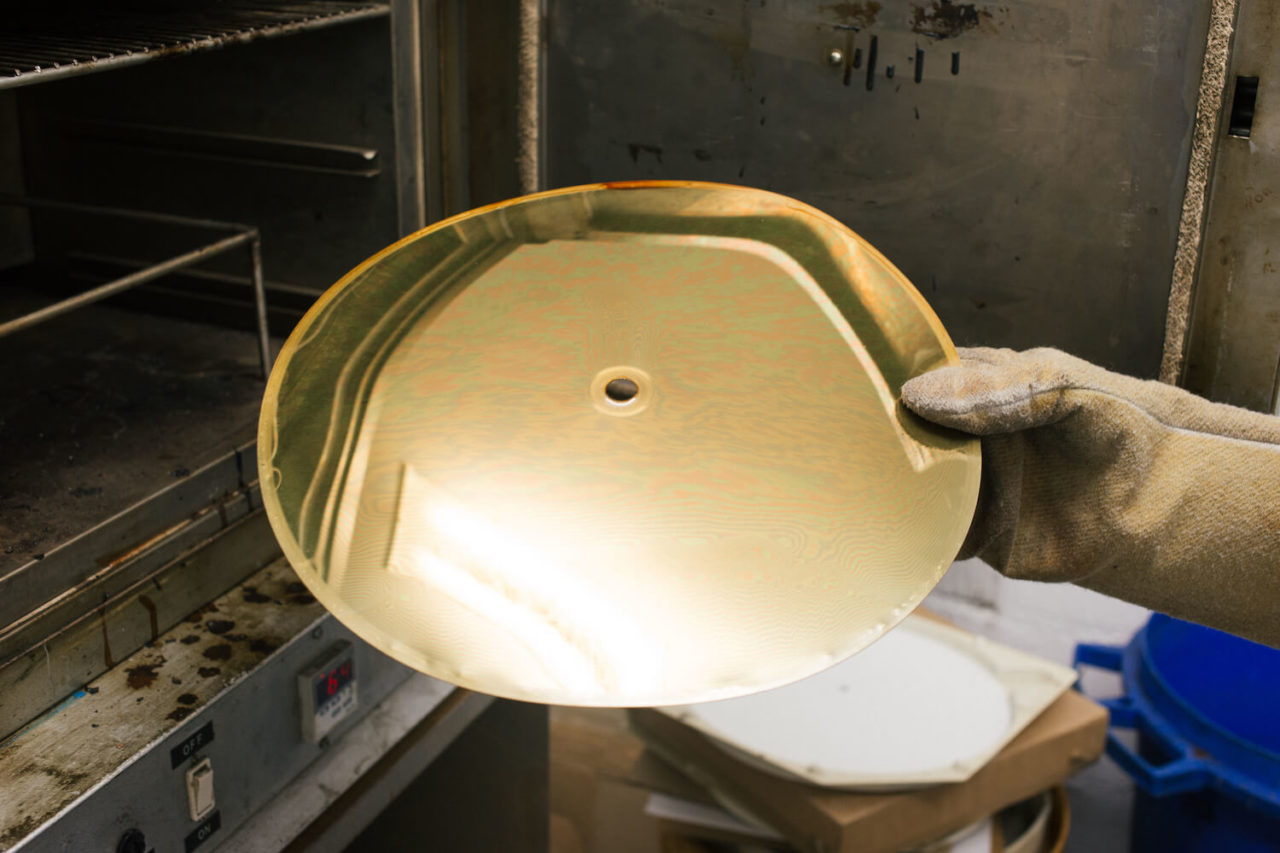
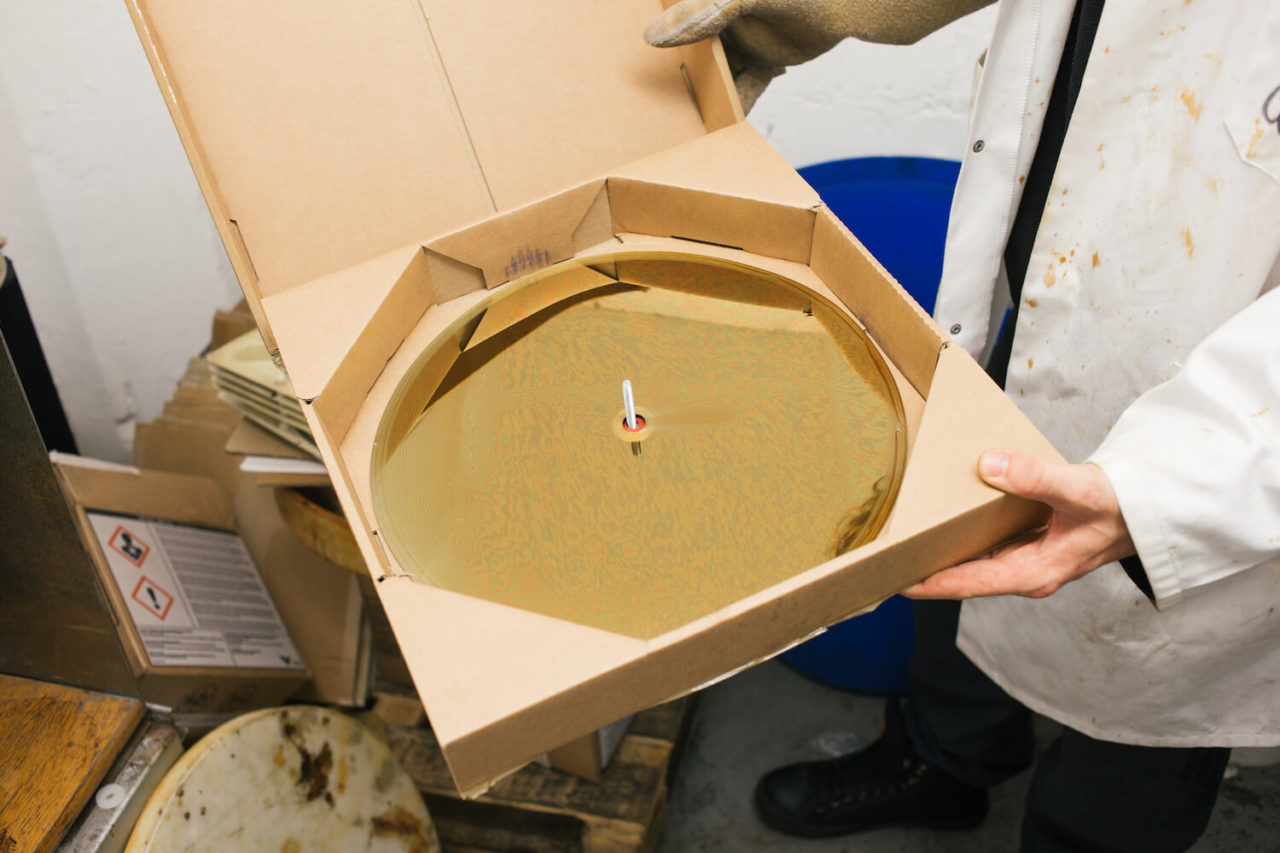
The mirrorback is removed from the oven and stored in a lacquer box (to protect from any stray UV light) and allowed to cool naturally for 10 mins.
Just take a moment to realise you are the don at this!
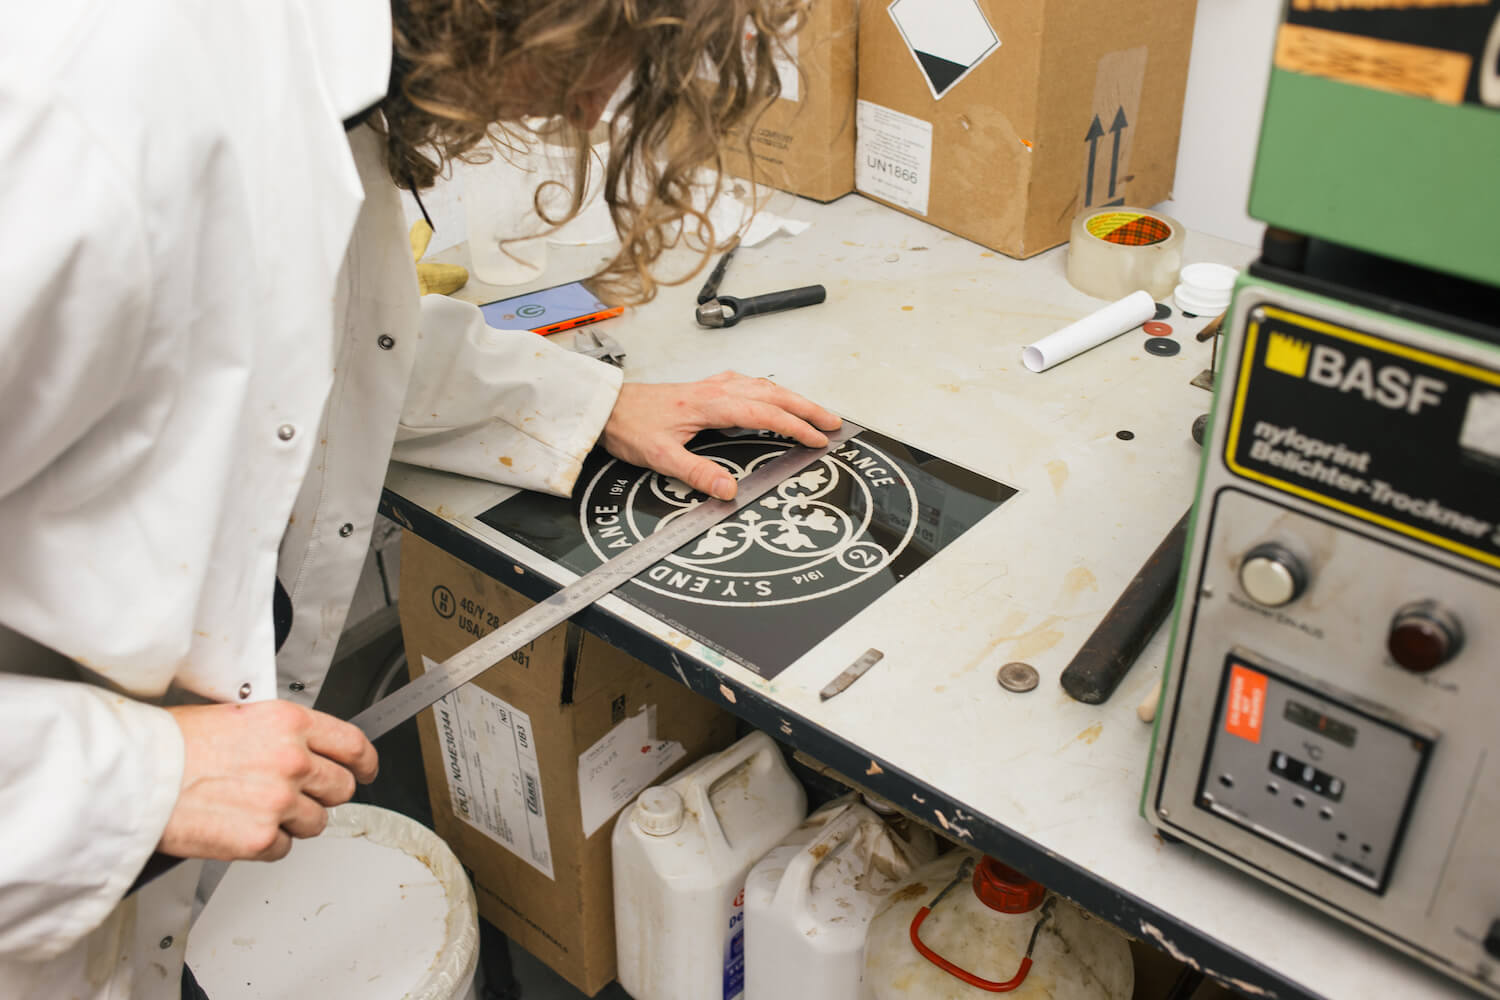
While the mirrorback is baking / cooling we move onto the etch design itself and to prepare the films for the exposure stage. The films are supplied as a transparent and black film, similar to an overhead projector film. The first part of this step is to find the dead centre of the design. The film has registration marks (which look like little targets) in the middle of the top, bottom, left and right. The distance between these is measured and a slight mark is scored onto the film at the halfway mark. The 2 marks form a cross and indicate the dead centre.
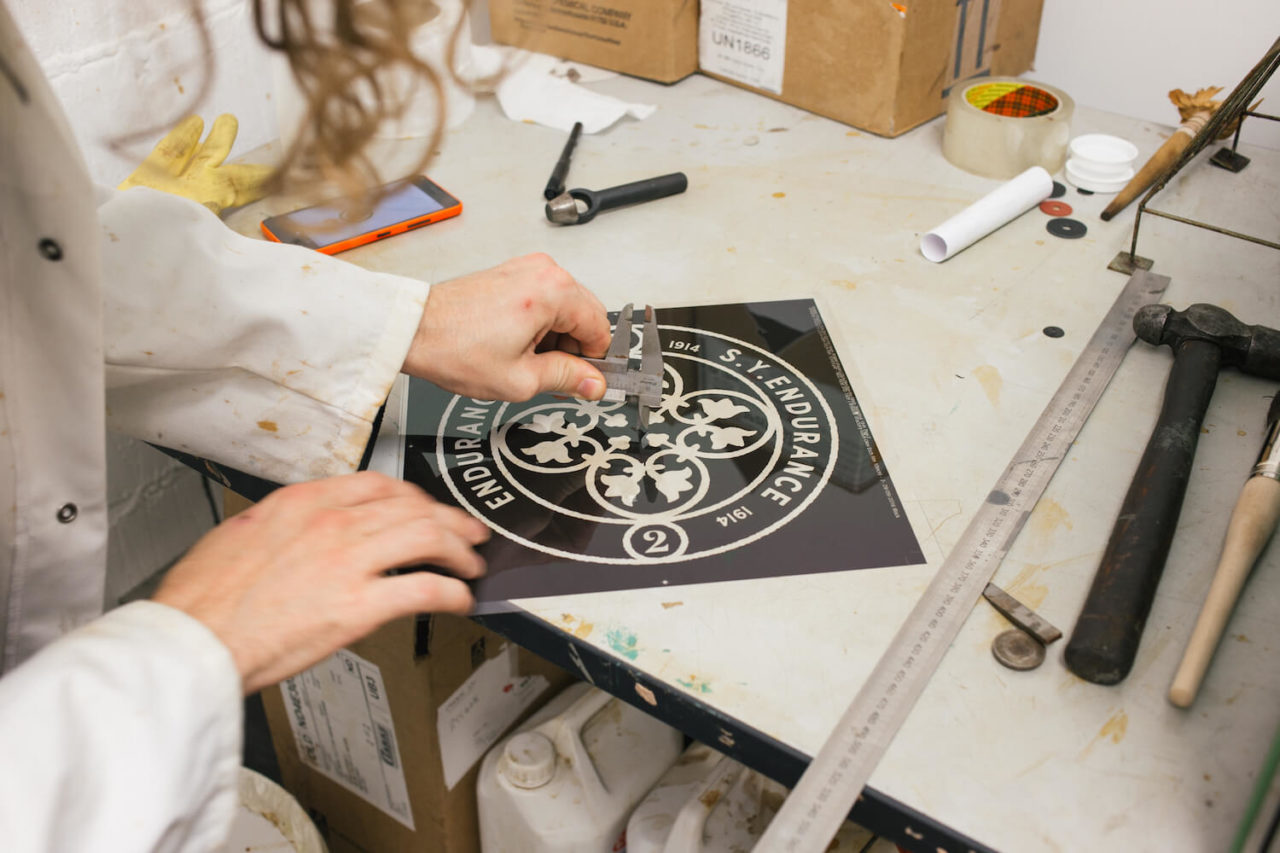
Using a vernier, and the dead centre point we have just found, we score a 7mm circle from the dead centre point. This leaves us a clear 14mm circle which can then be stamped out using a 14mm hole punch, and ensures that the dead centre point is held.
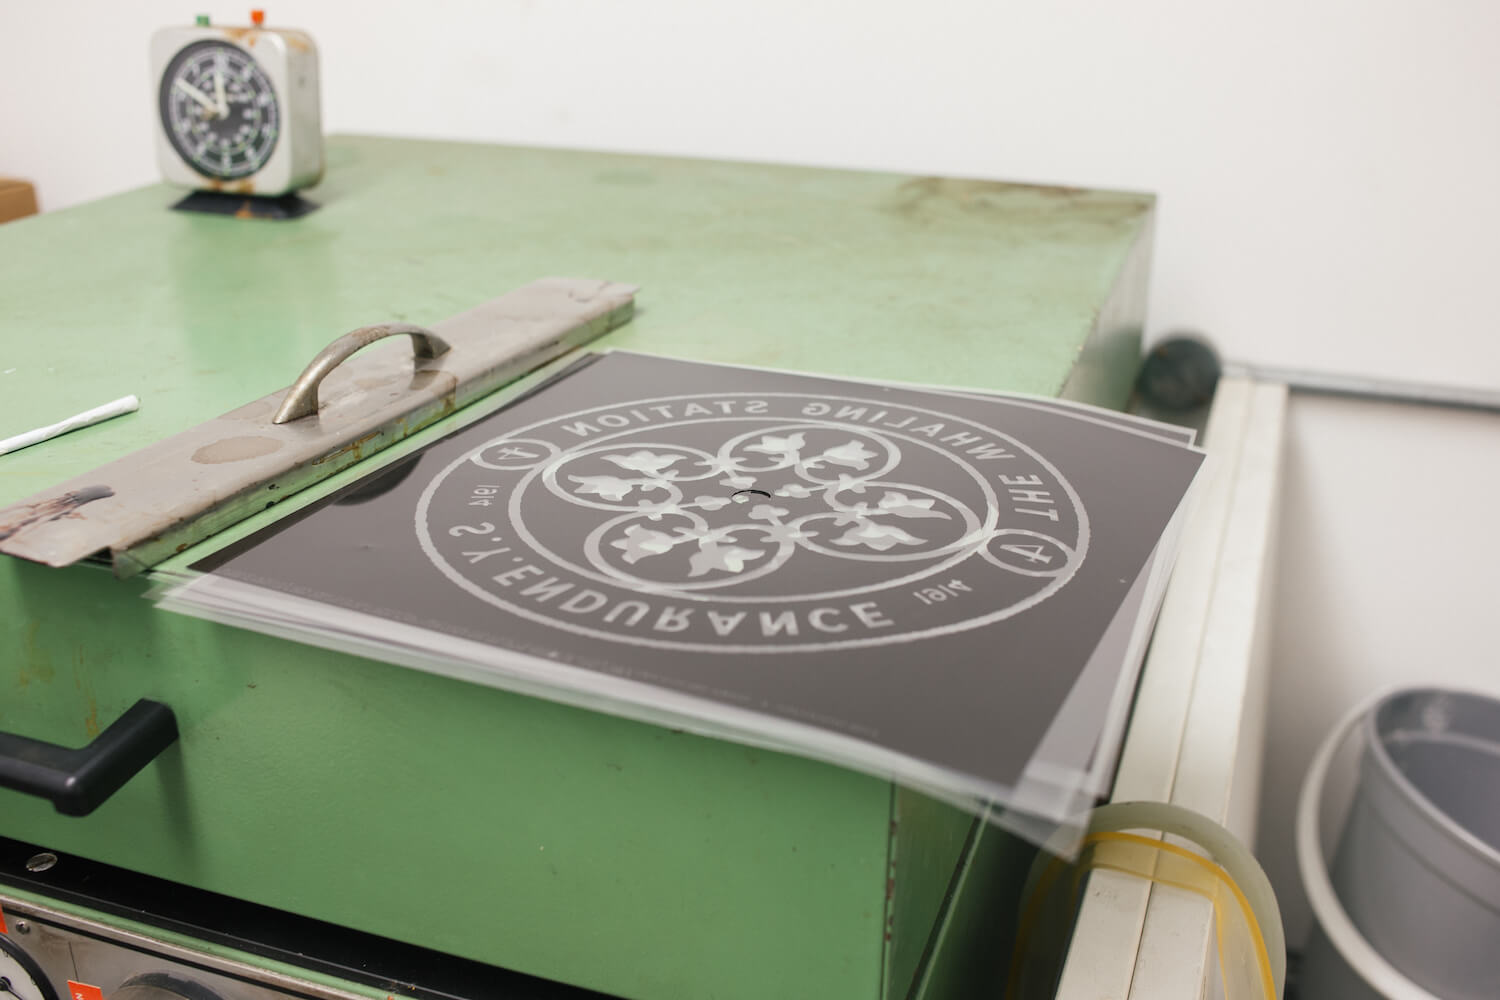
The films, now ready, are safely put aside.
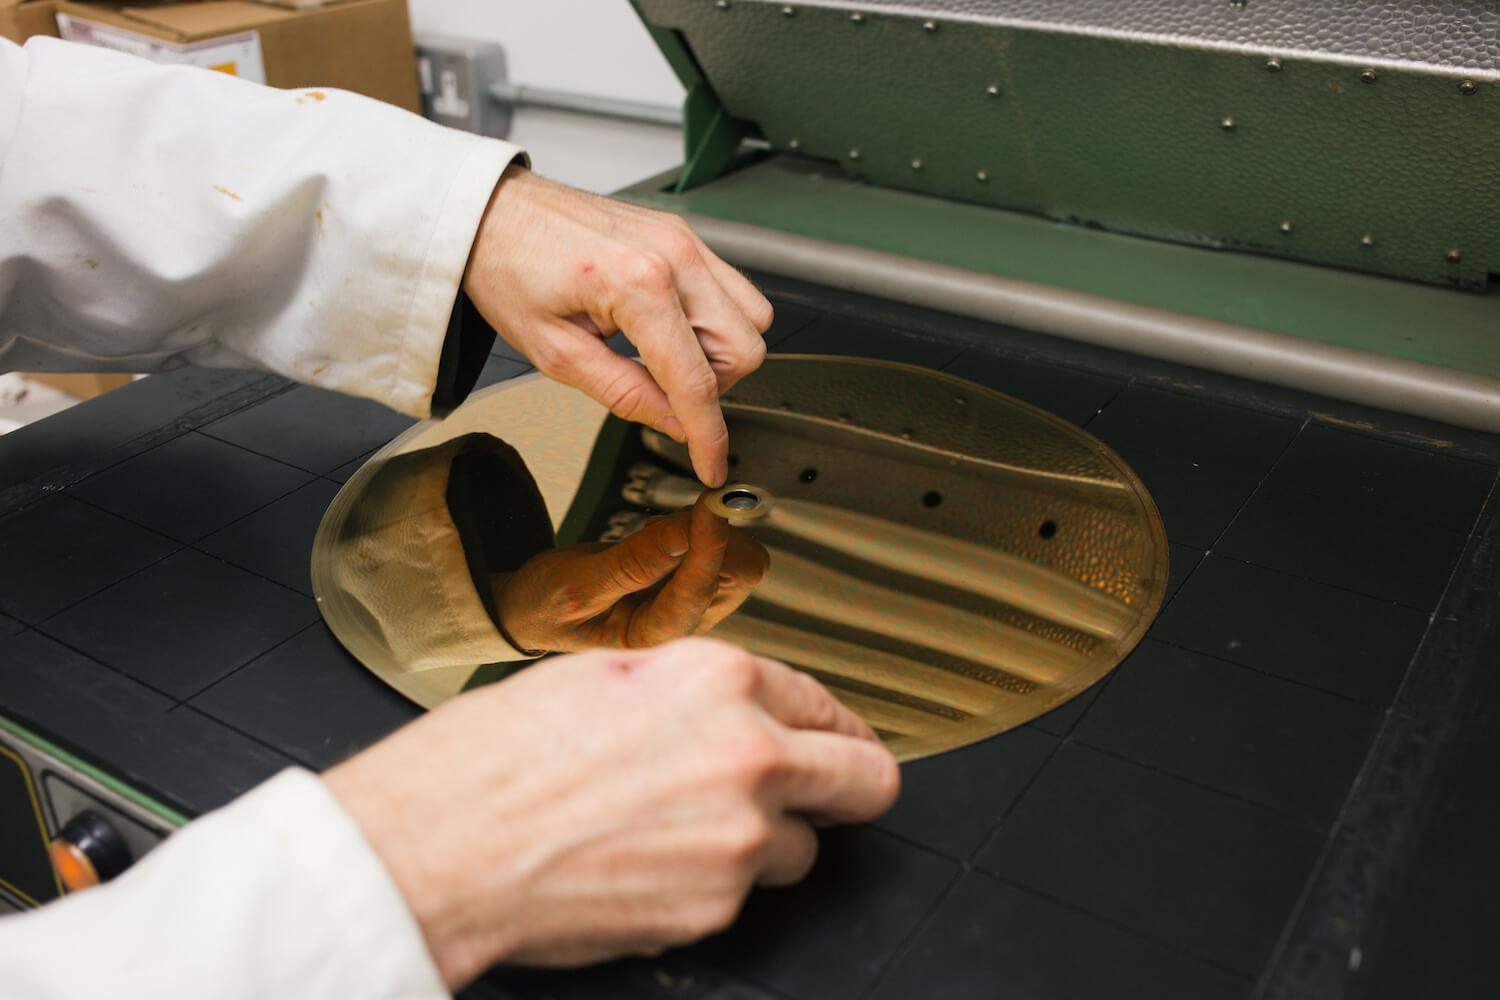
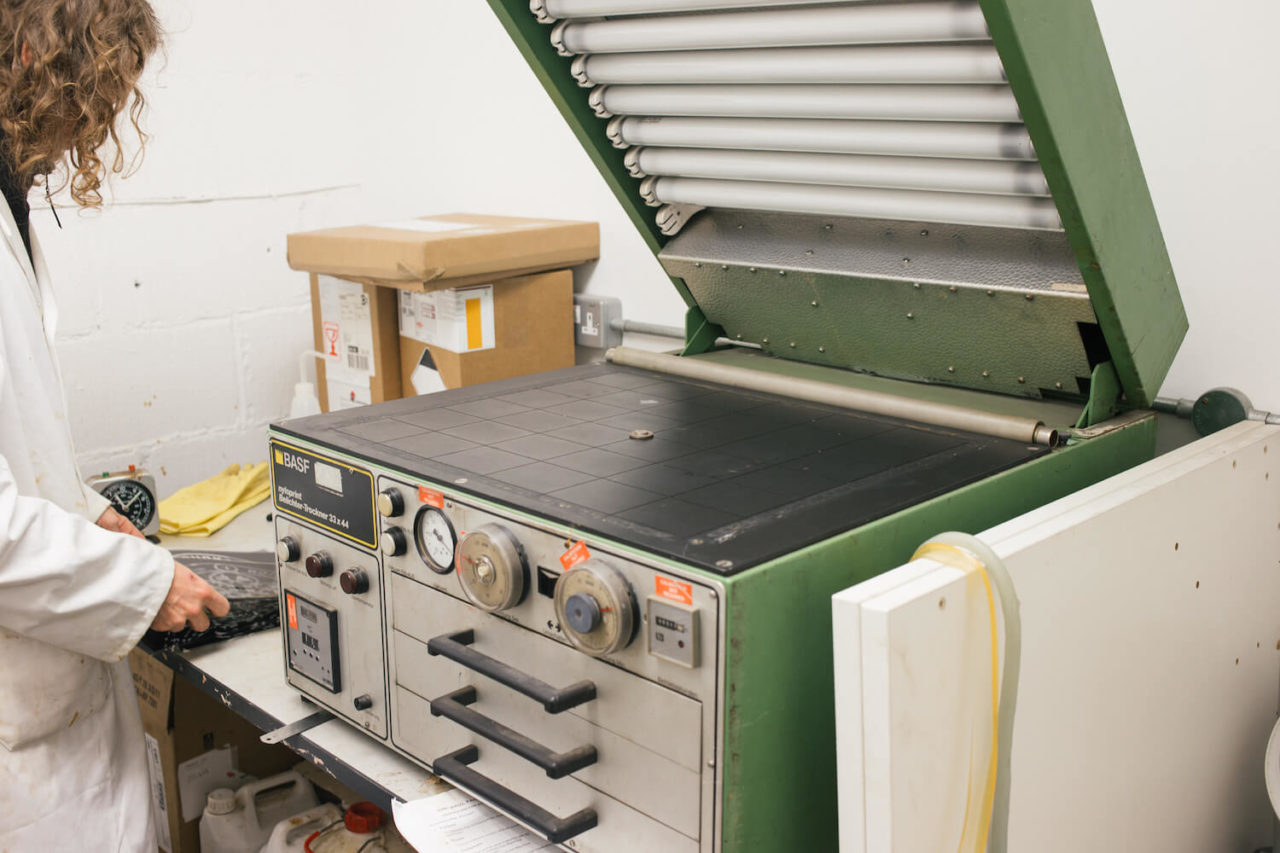
The now-cooled-down mirrorback is taken from its box and added to the UV exposure box. There is a small jig that is placed under the mirrorback and protrudes through the centre hole on the mirrorback.

The film is then placed onto the jig on top of the mirrorback.
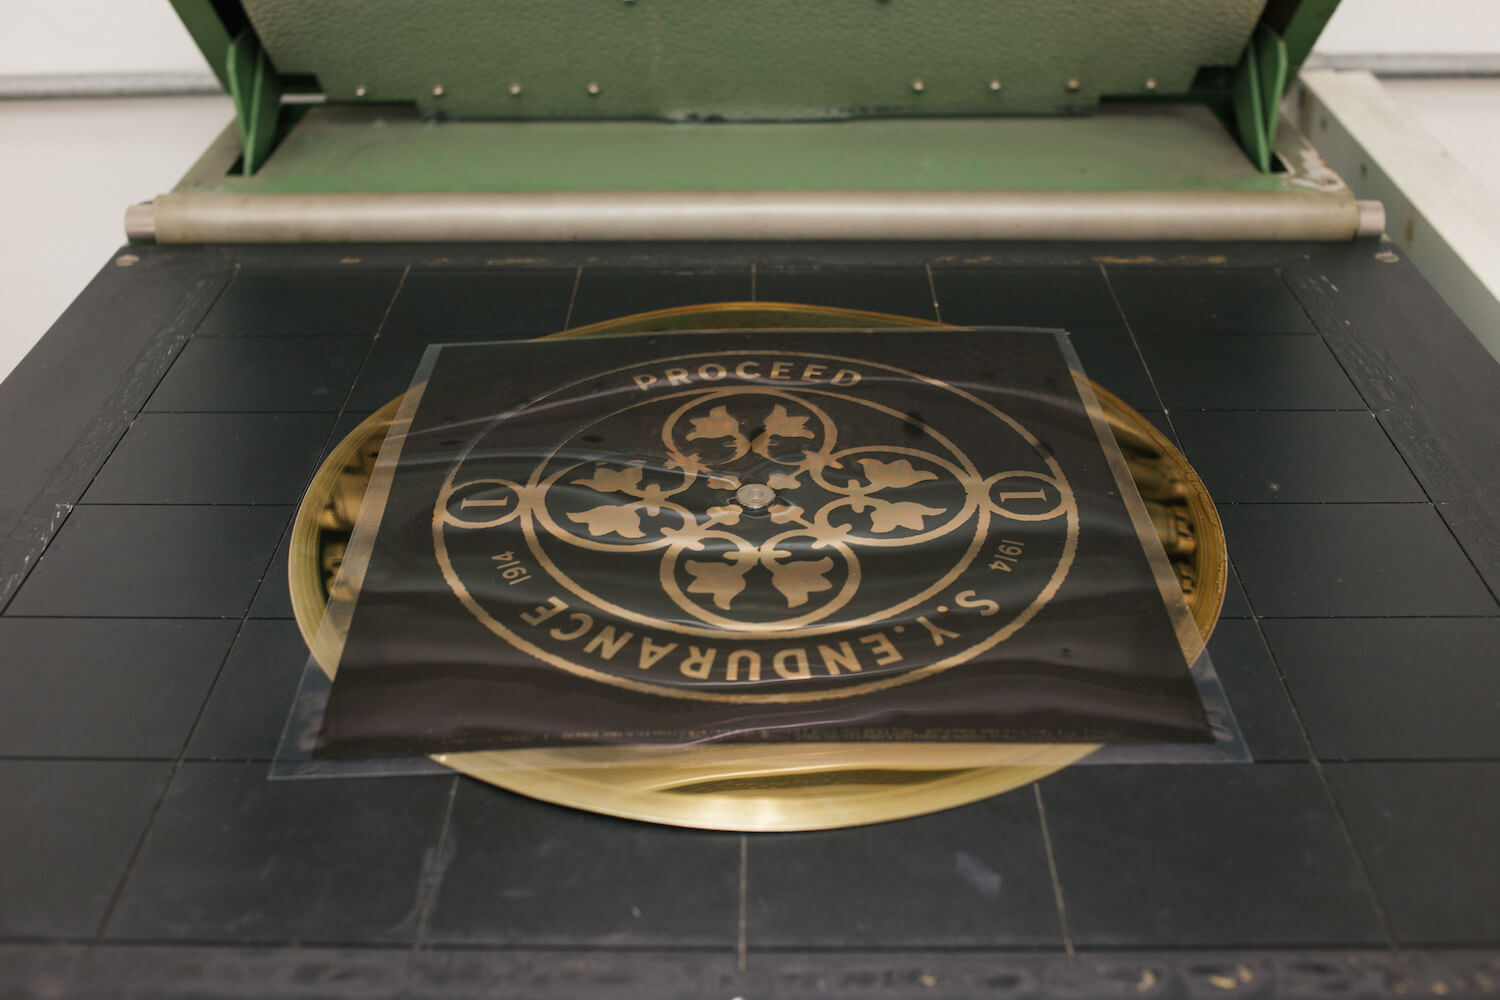
Final checks are made to ensure there is no debris material between or on top of the mirrorback and the film and that these are located in the centre of the exposure box, to ensure an even exposure.
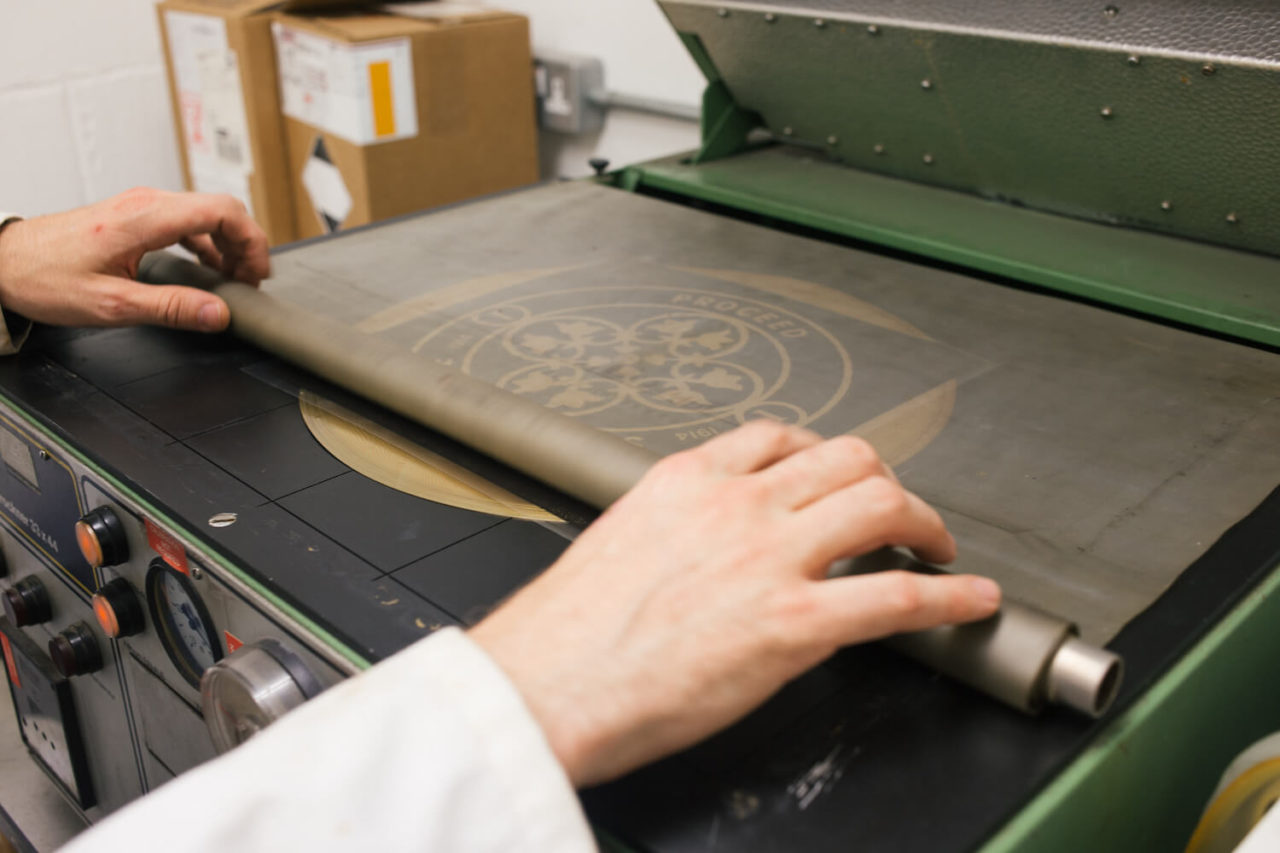
There is a transparent rubber mat that is rolled over both the mirrorback and the etching film design. This holds the sandwich down to the base of the exposure box using vacuum. This ensures that the film and the mirrorback are in contact with each other at all times and stops and unwanted stray UV light penetrating the film in any unwanted areas.
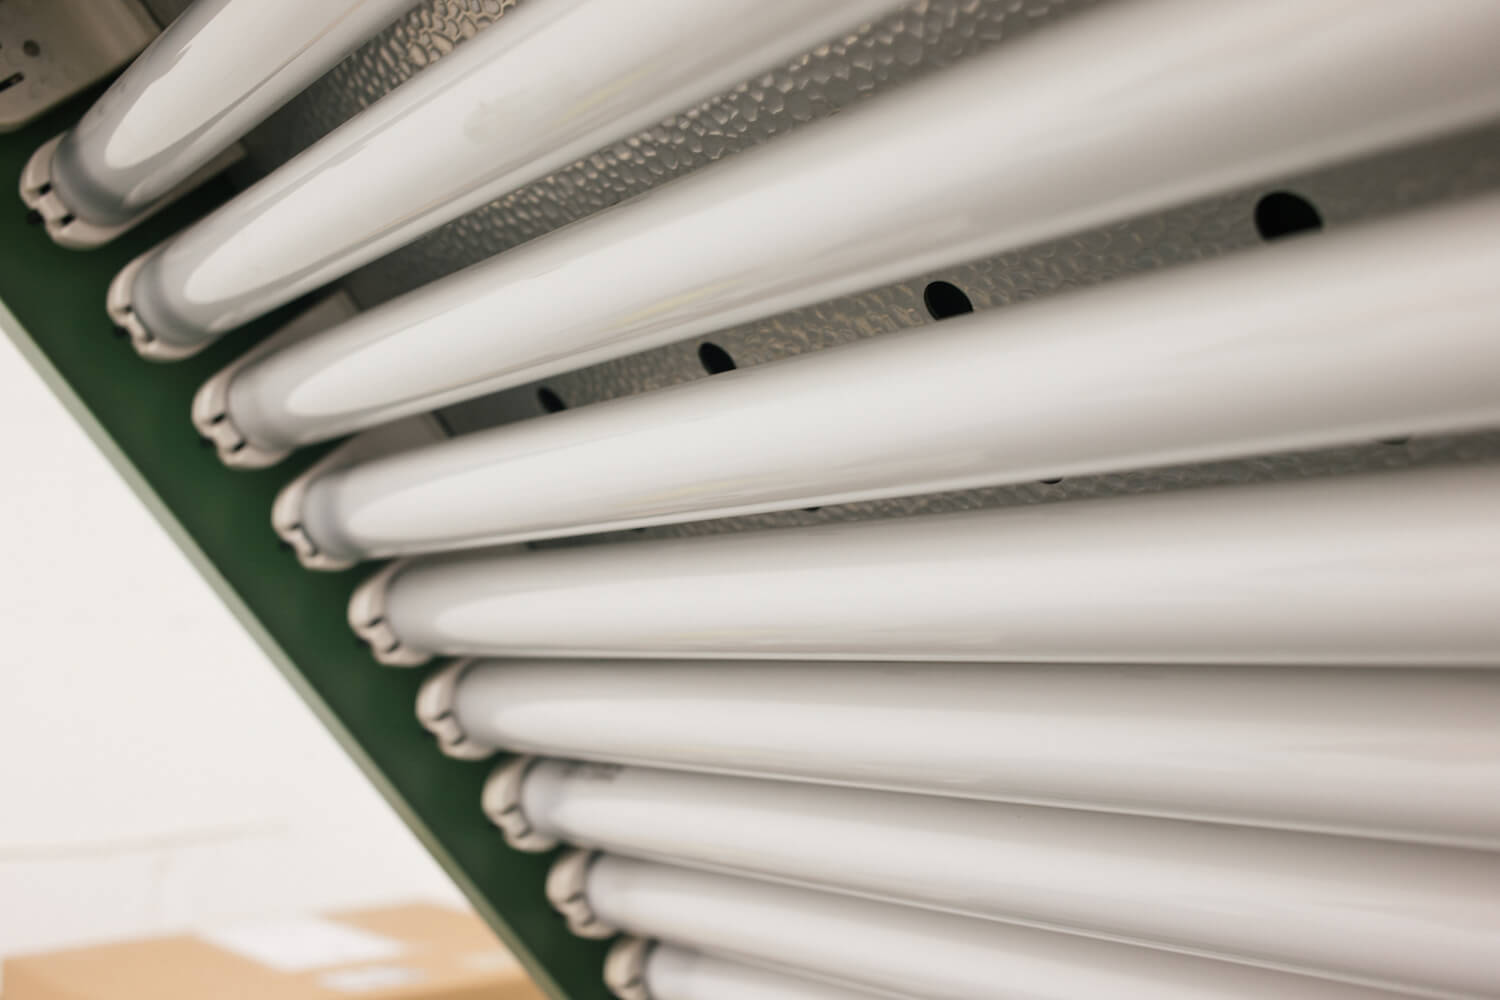
Once happy, the lid containing the UV tubes is closed over the mirrorback and etch-film sandwhich.
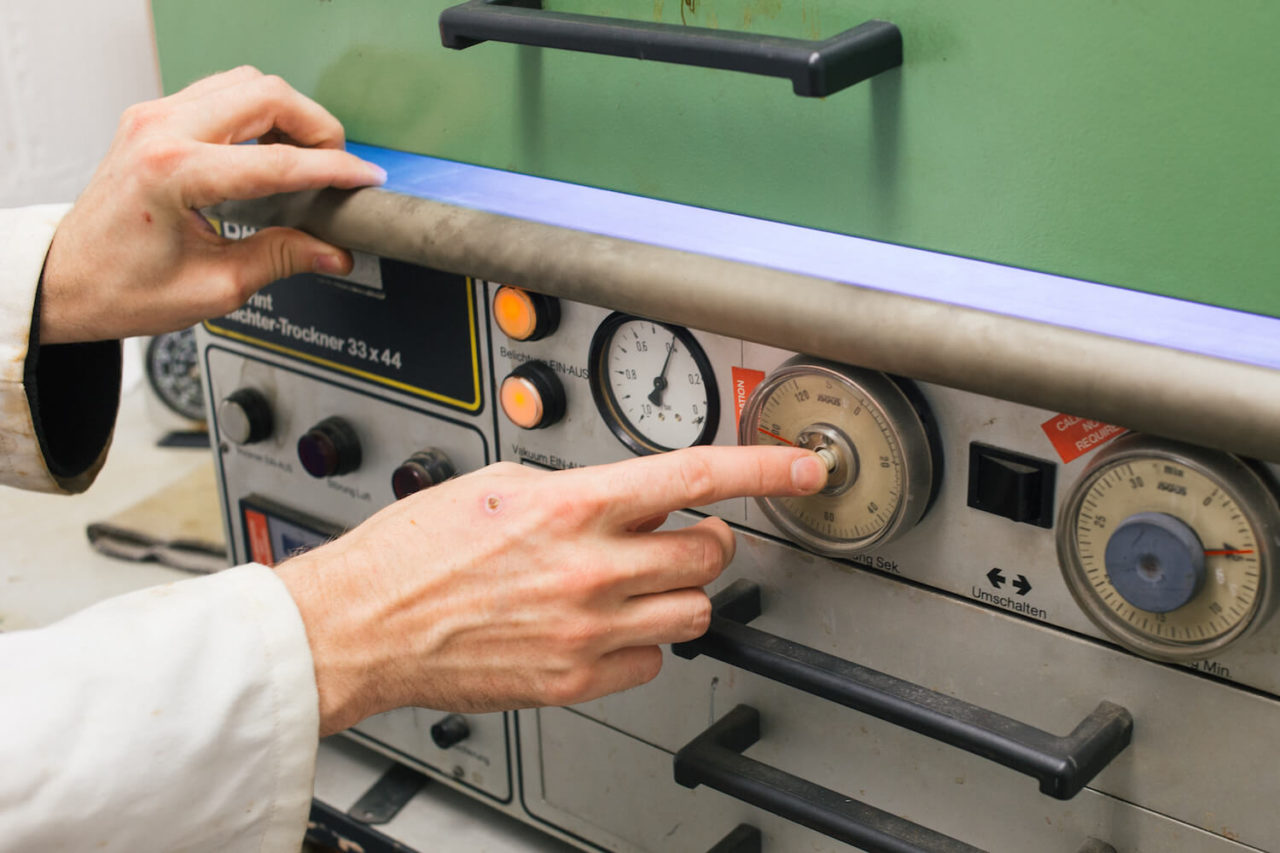
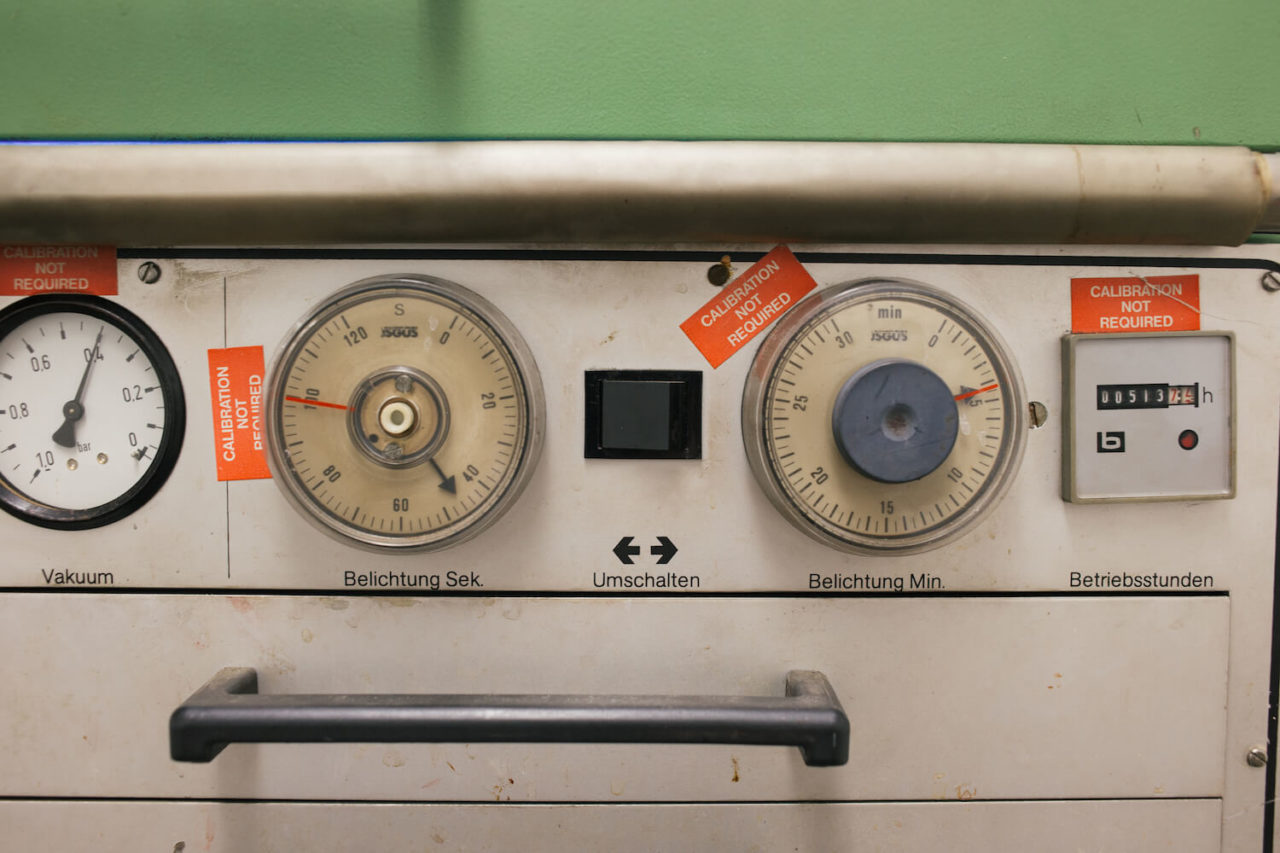
The UV exposure box is activated. UV light penetrates the film in the desired areas through to the mirrorback. Areas of the mirrorback destined to be etched have the protective layer degraded by the light and the areas not destined to be etched are protected by the black areas on the film. The exposure process takes 120 seconds and finishes automatically.
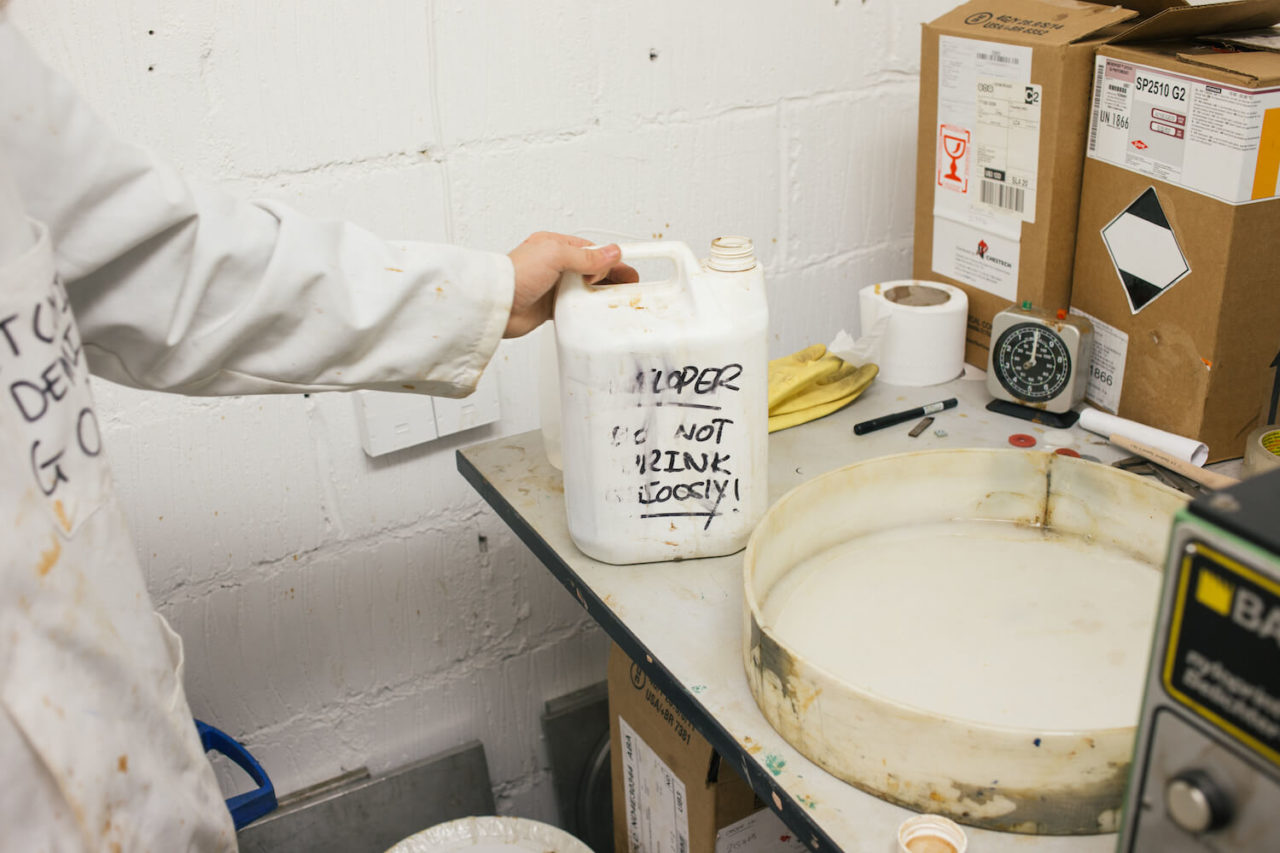
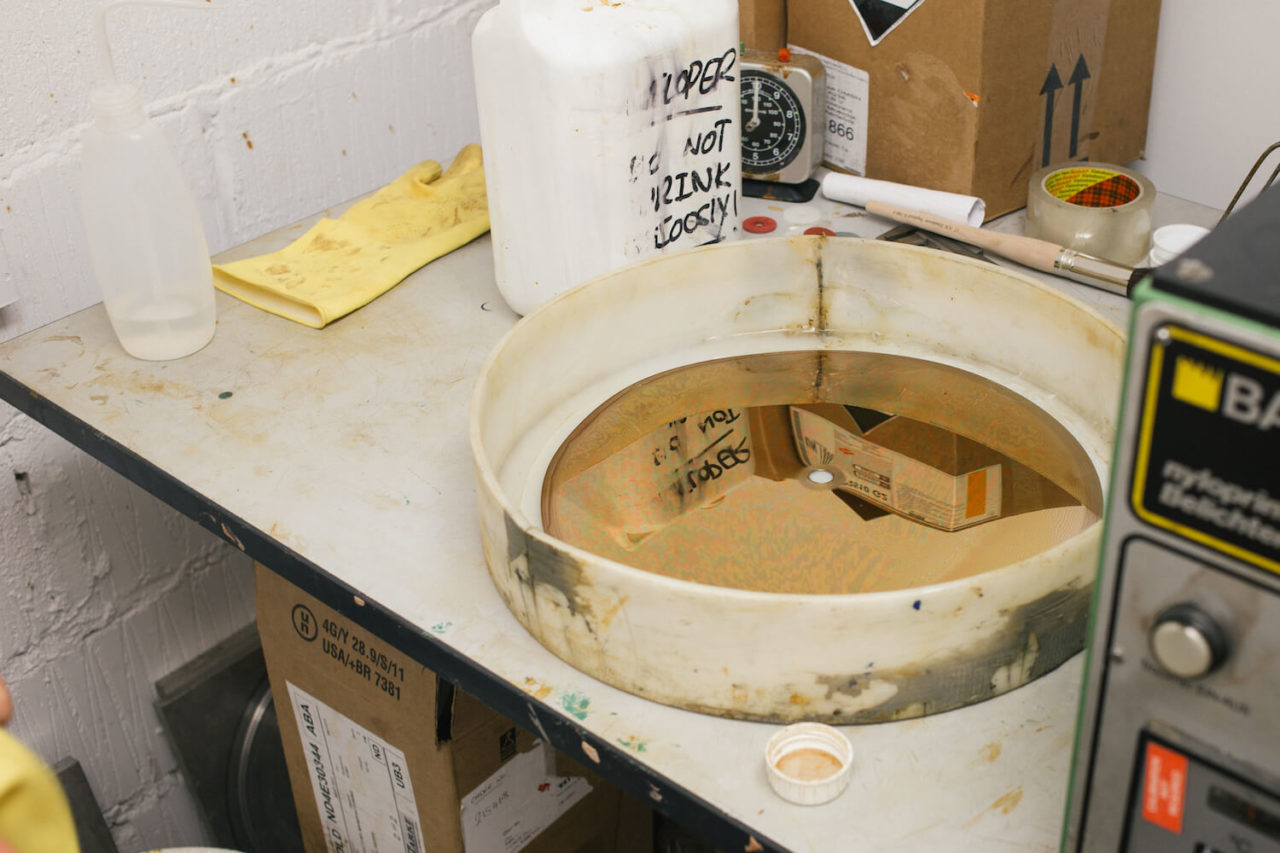
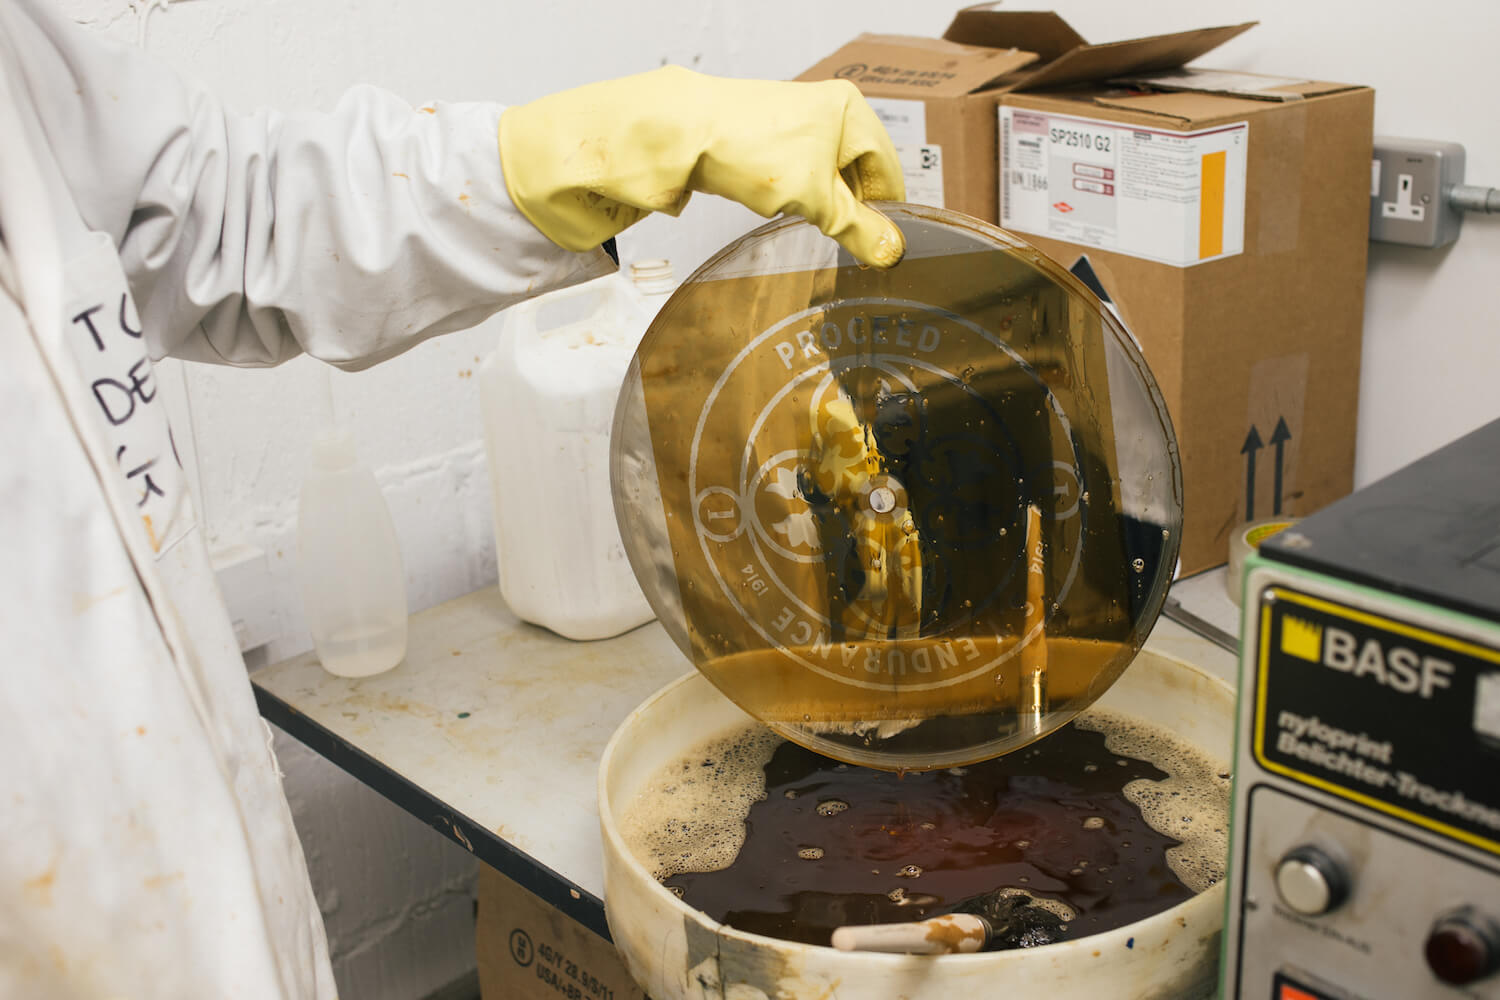
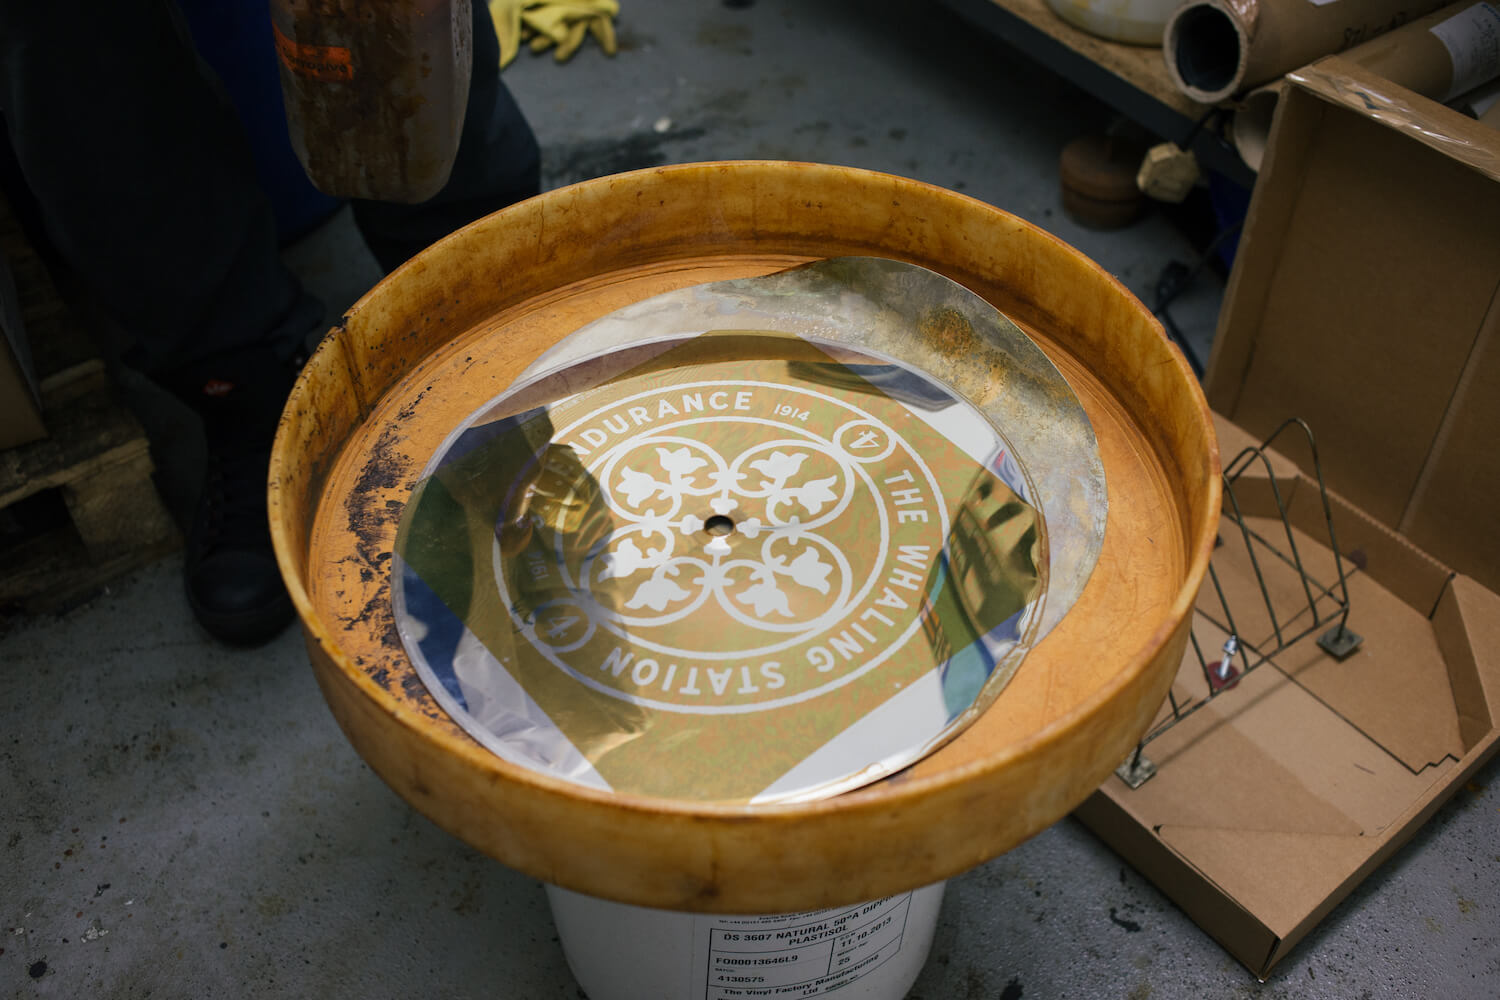
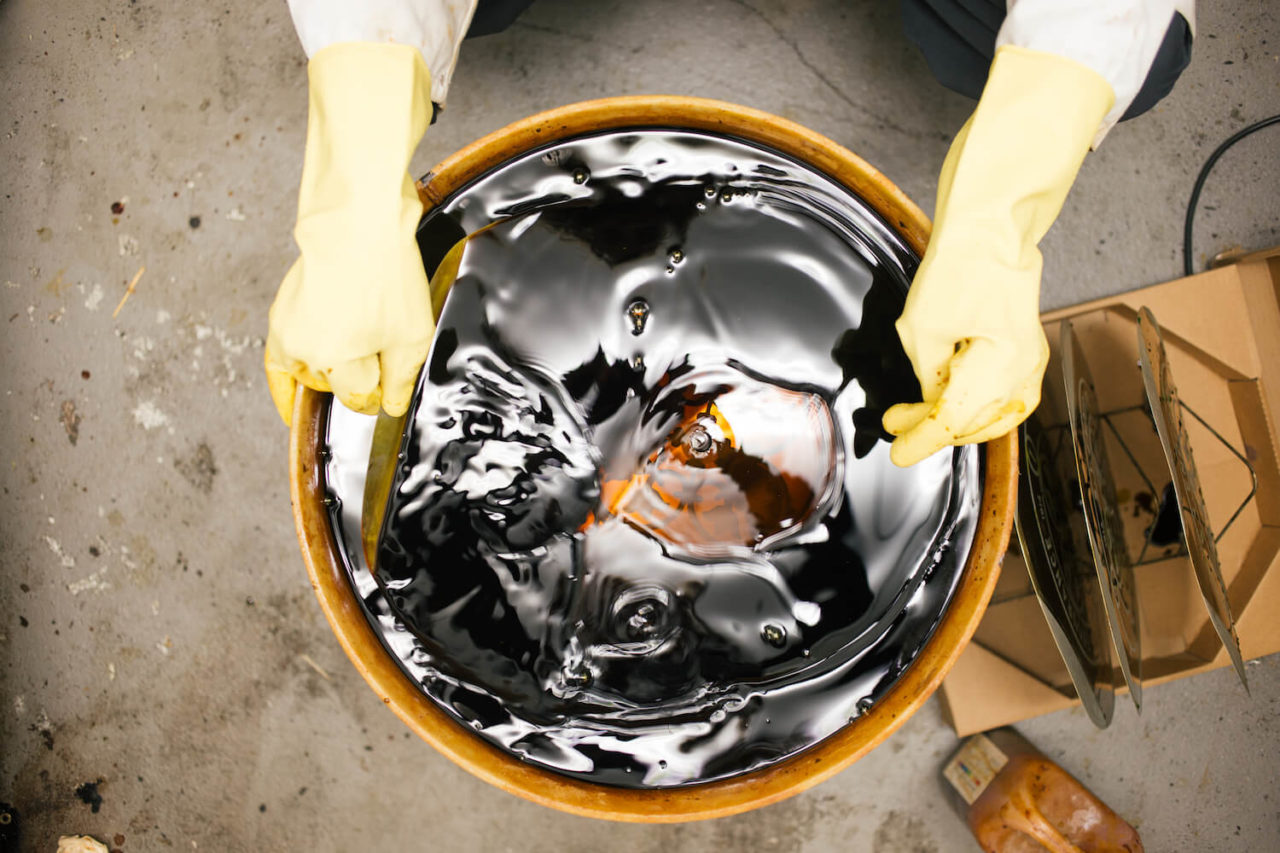
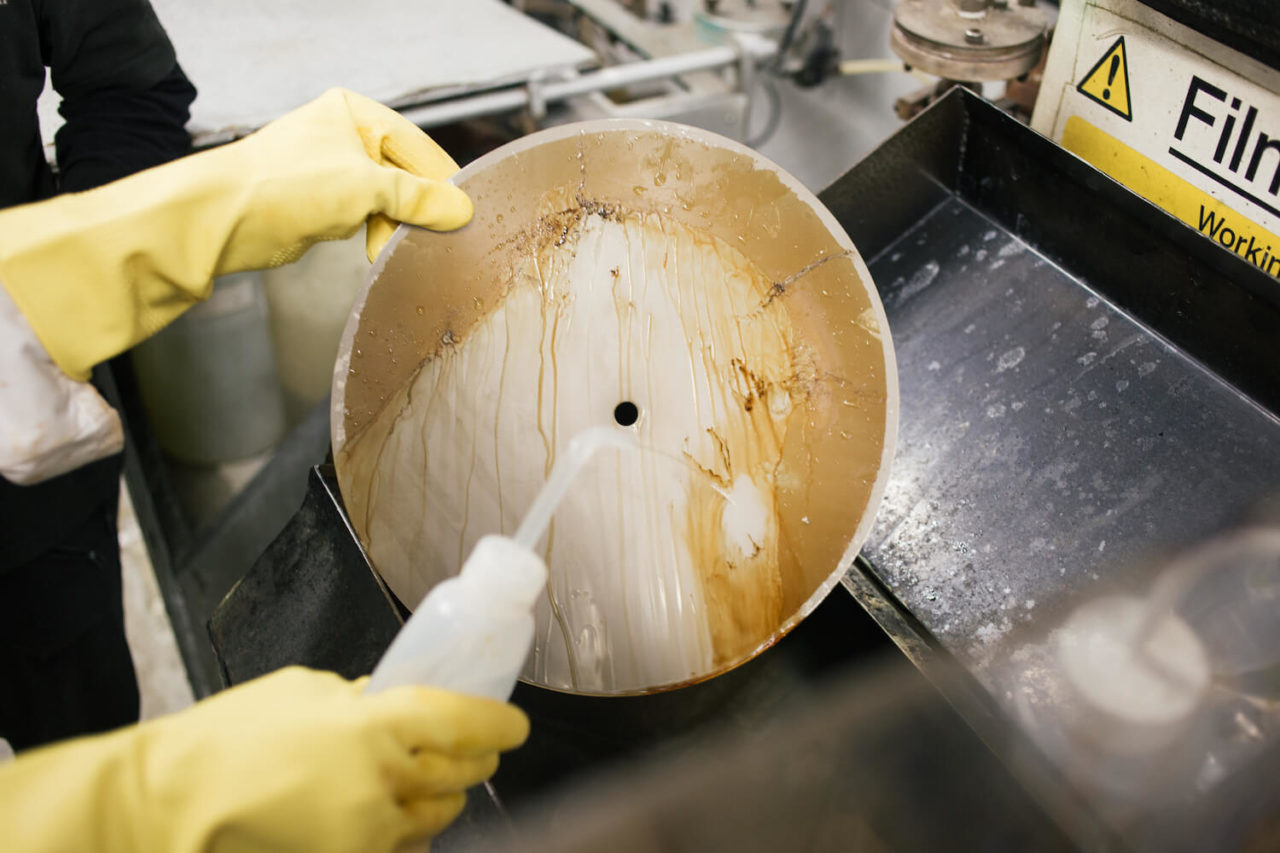
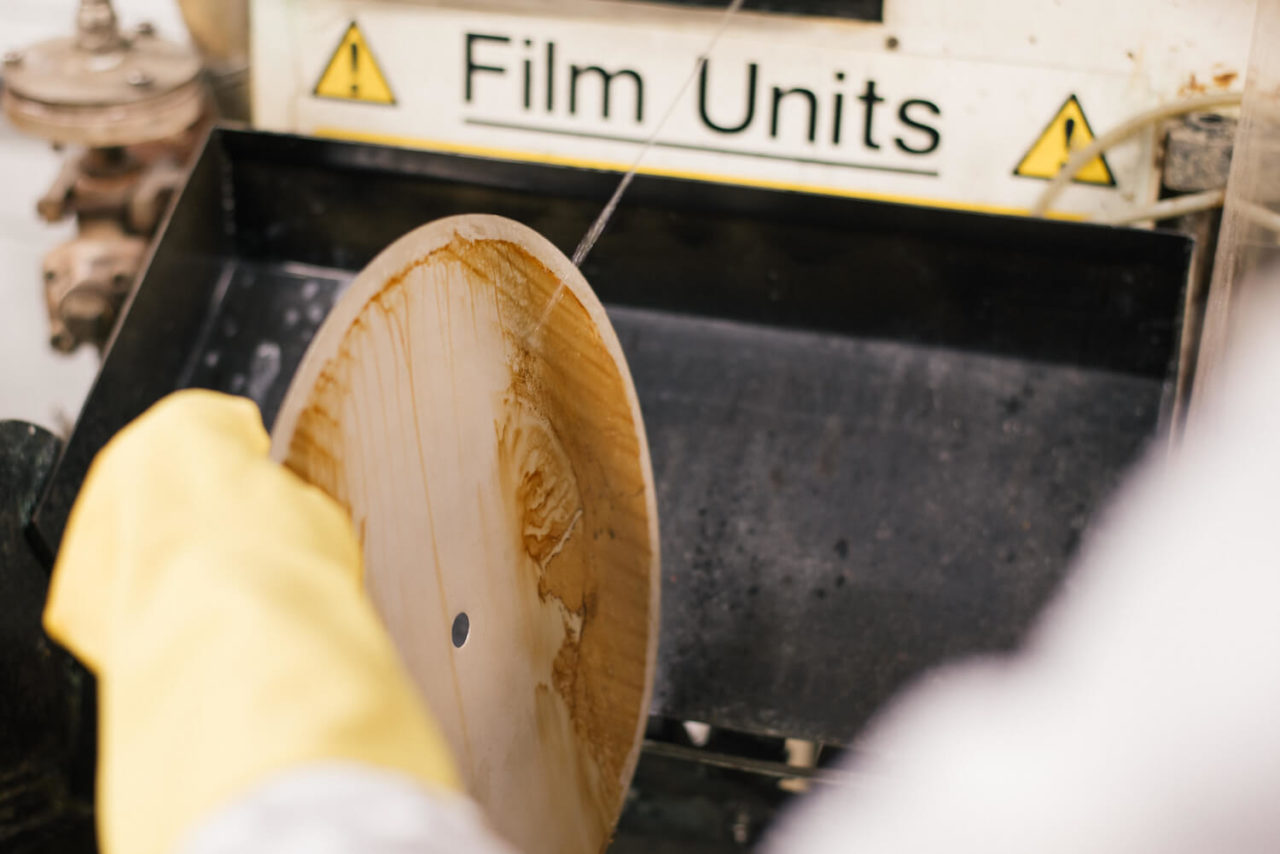
We prepare the developer stage. A circular bath is prepared to the workbench. And the mirrorback in placed in the bottom of the bath.
The developer solution is poured over the top of the mirrorback.
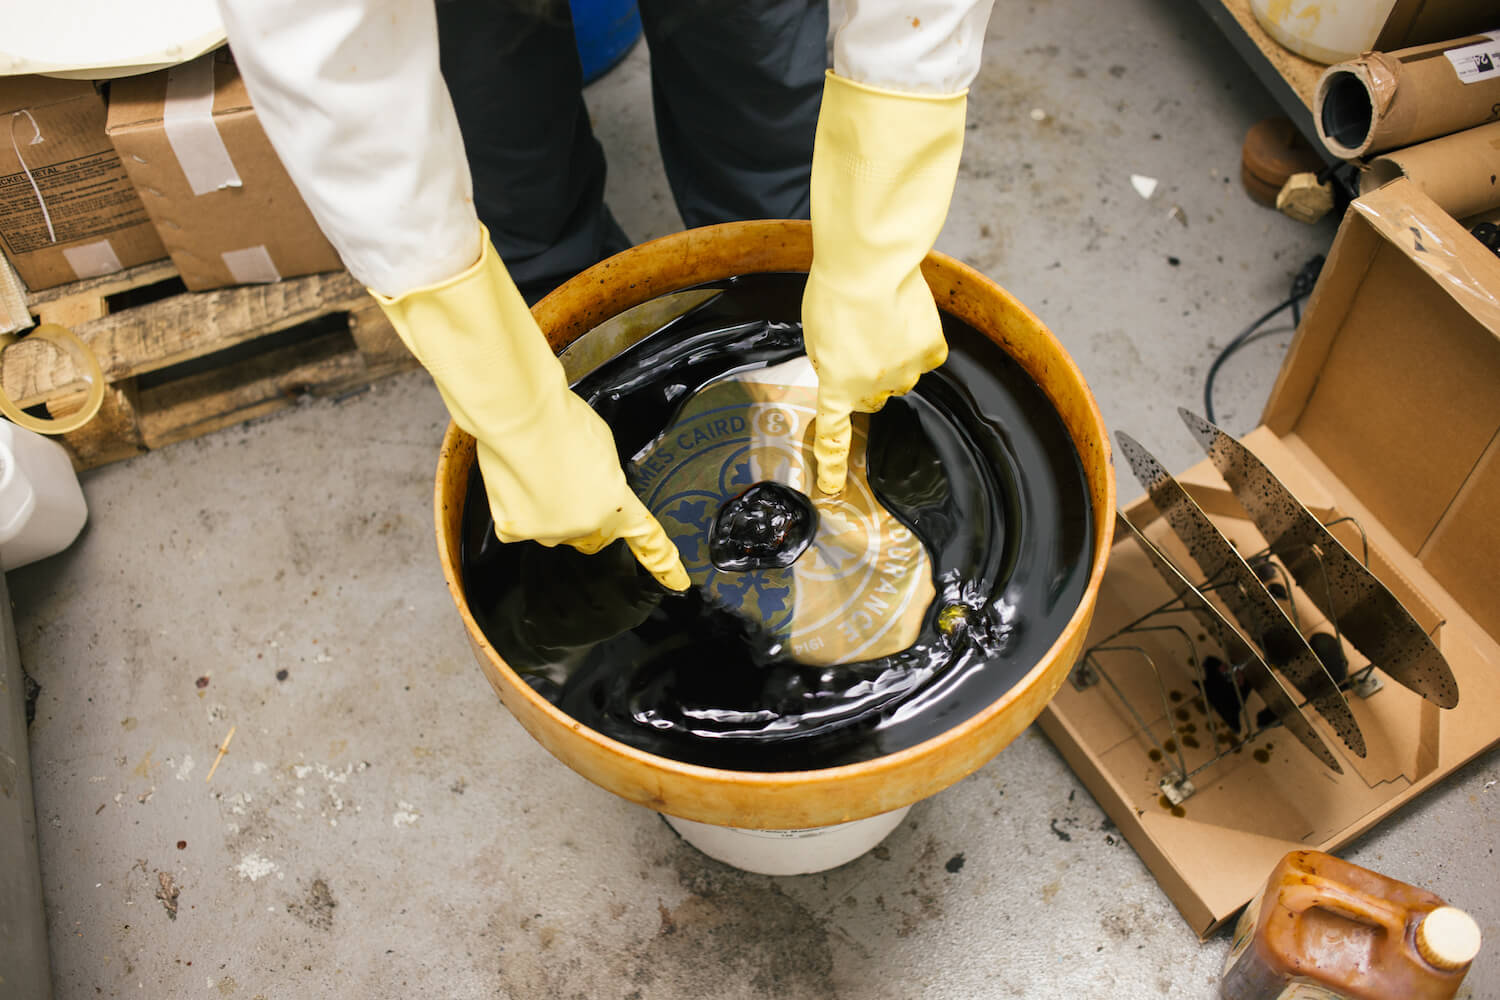
Using a squirrel haired mop/brush the developer is brushed away. The areas destined to be etched can be brushed clean of the protective dip layer, leaving the protective dip layer covering the areas not to be etched. As the etched area’s protective layer gradually breaks down, it turns a deep purple, as it is removed (back to pure mirror finish).
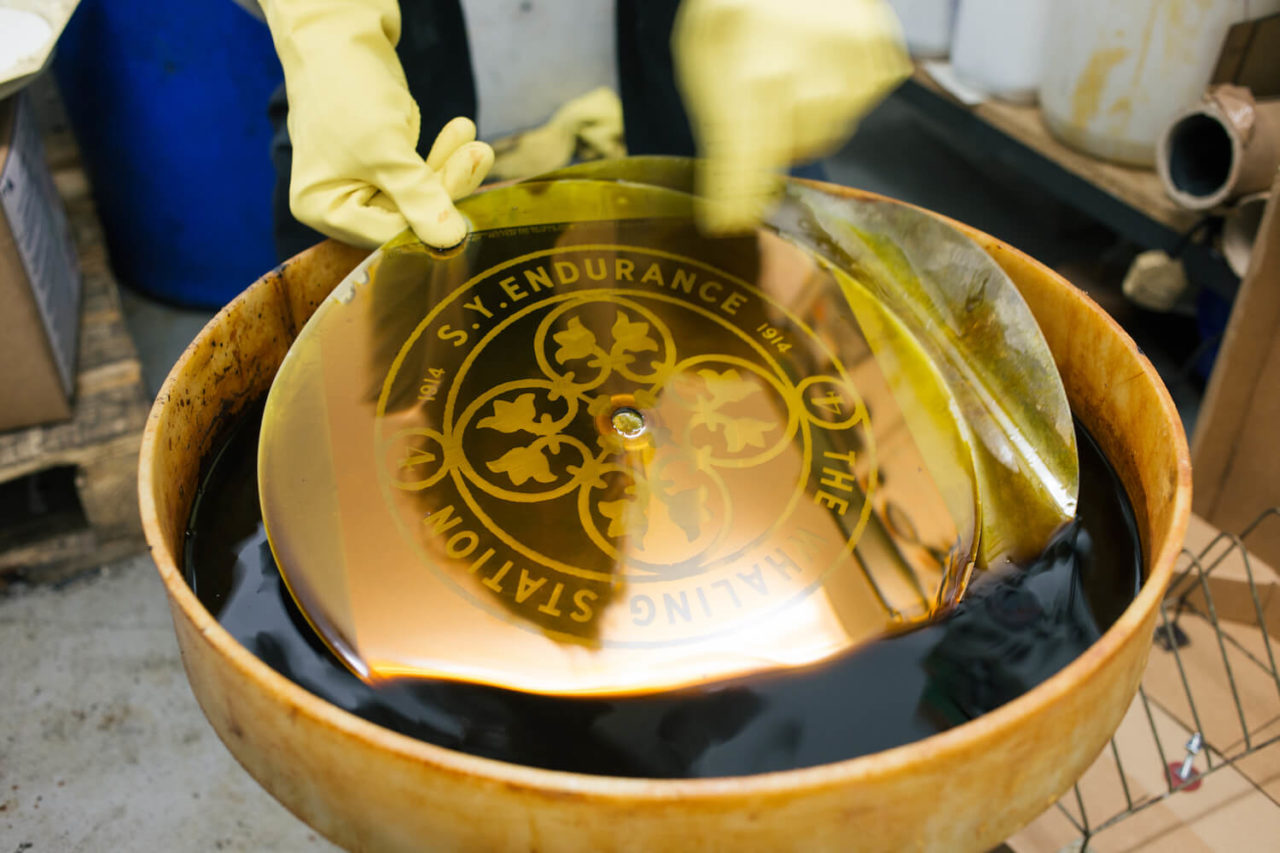
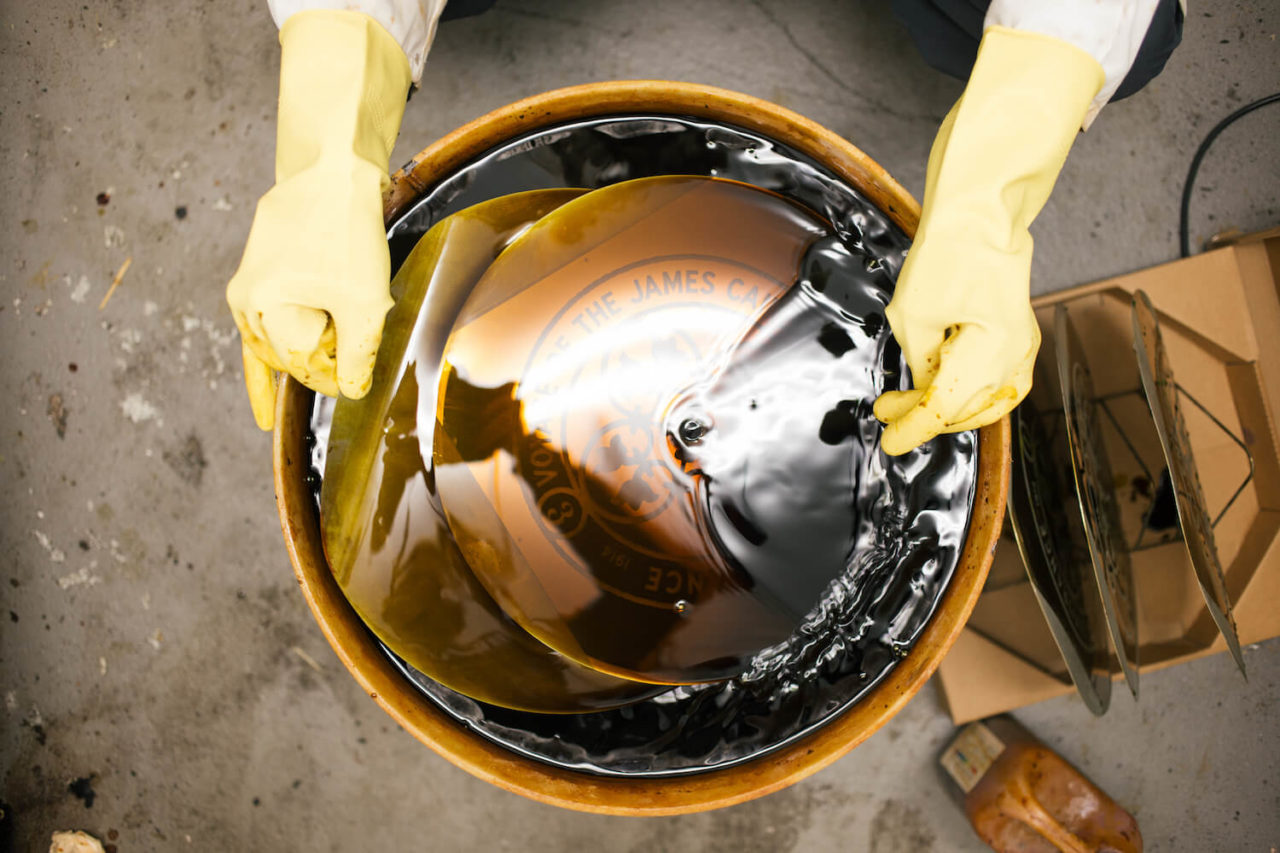
Once the protective dip is cleaned off of the etched areas completely, the mirrorback is again checked for blemishes and contaminants, and the condition of the transition between the protective-dip edges and the mirrorback’s (underneath) edges are checked. We are looking for sharp edges that match the etch film perfectly. If these edges are not sharp, the finished etch could have blended edges/transitions.
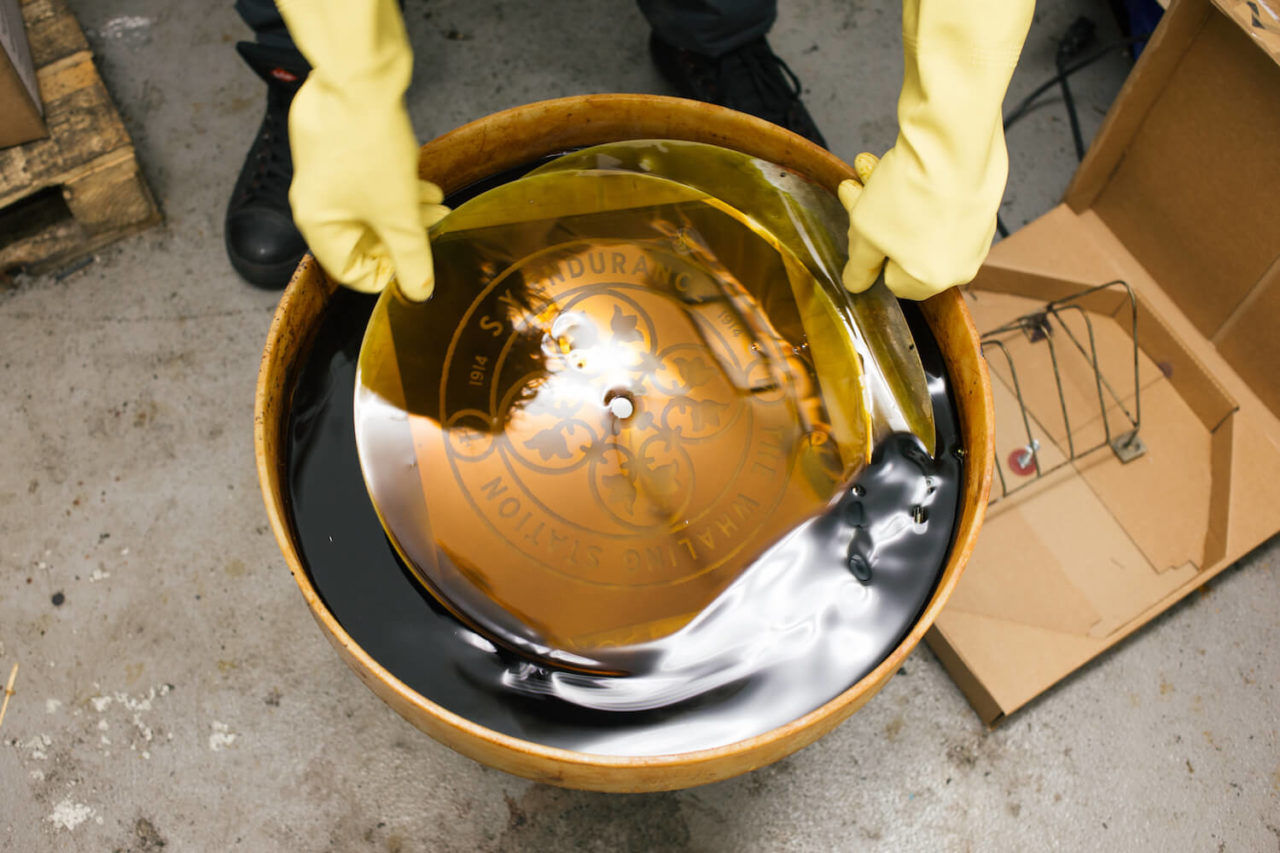
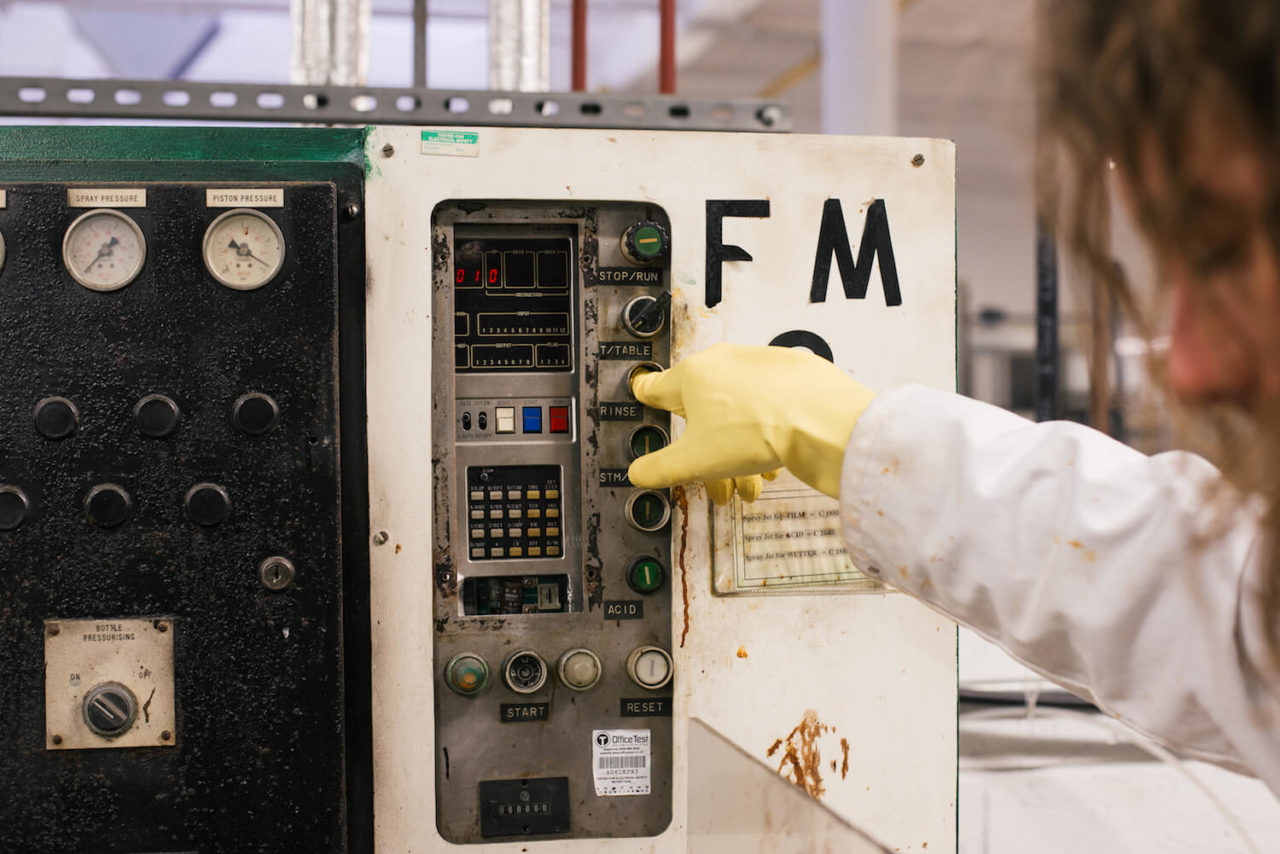
If the etching engineer is happy with the design and how it has been exposed onto the mirrorback, then the mirrorback is then drained and transported into the baths to clean any remaining developing fluid off the disc.
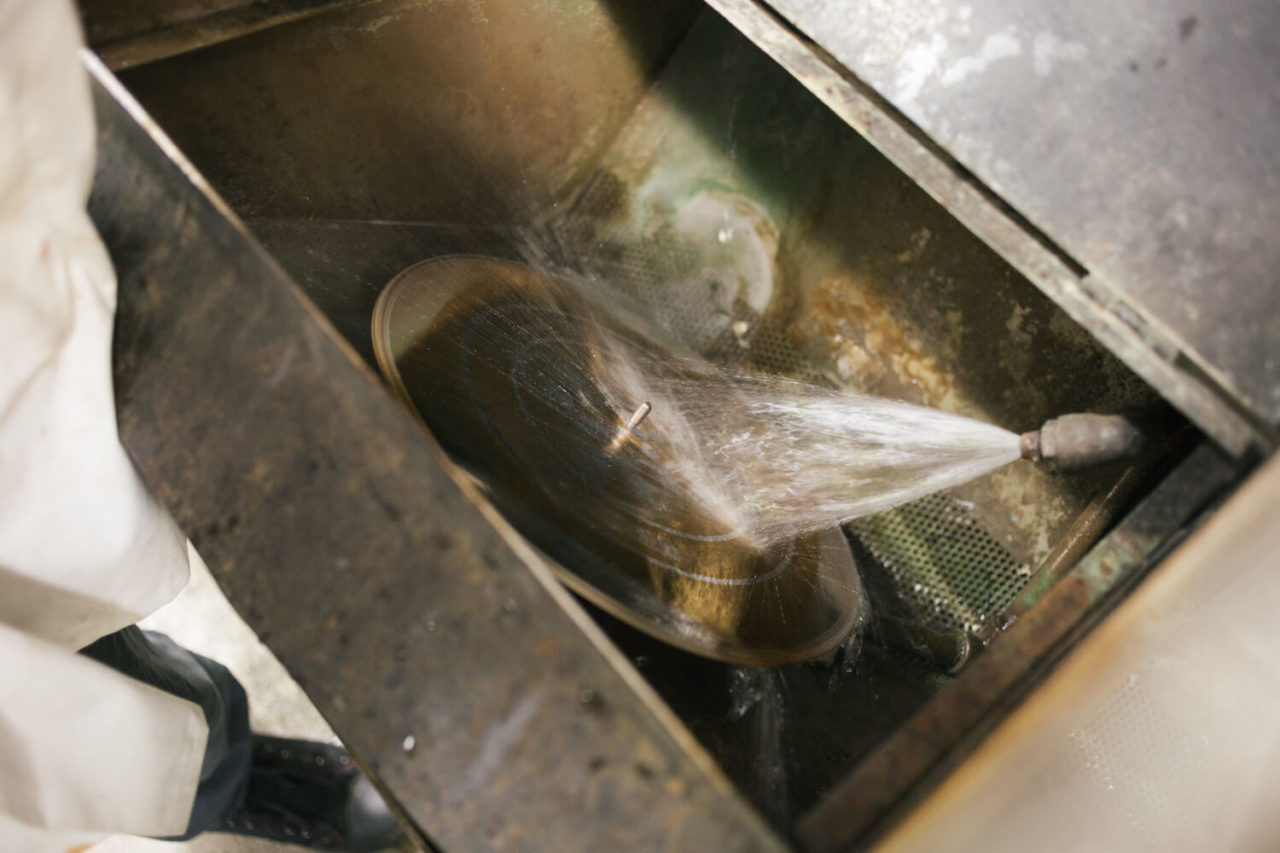
The mirrorback is blasted with RO water for 10 seconds, then an acid for 6 seconds and then RO water for another 10 seconds, to ensure the disc is clean.
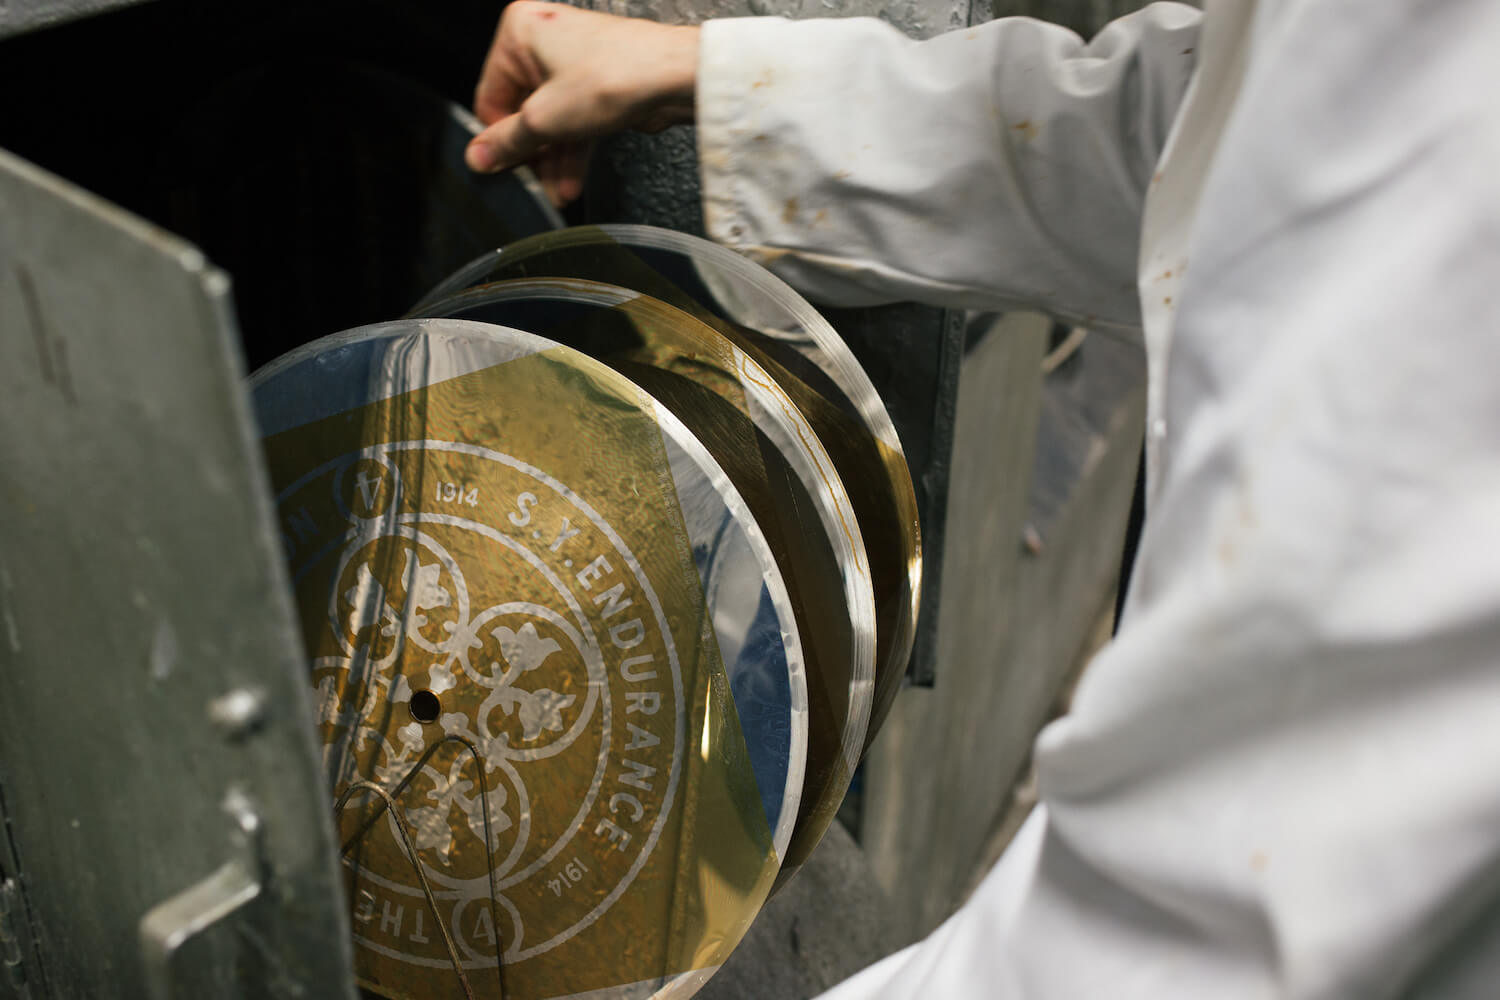
The mirrorback is then stored in a metalwork oven, until it is dry.
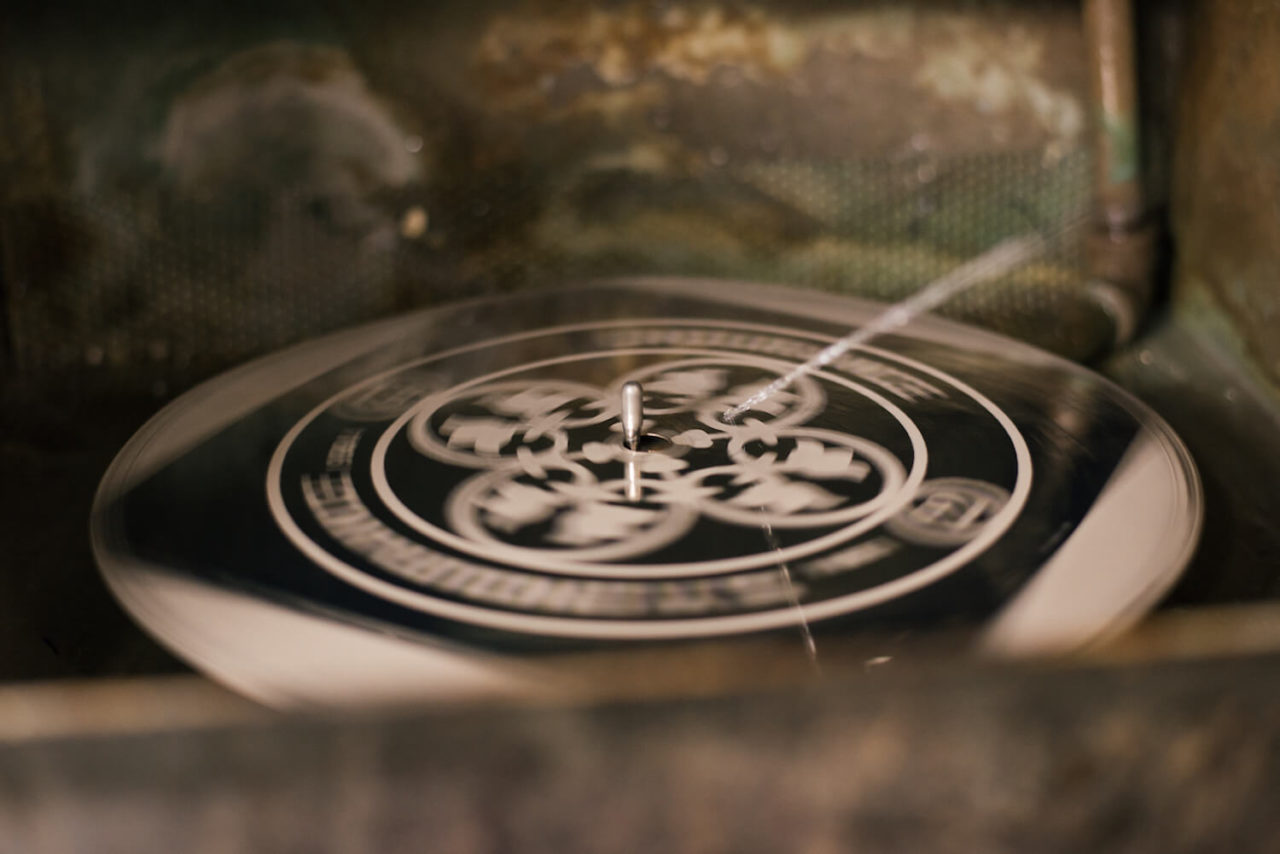
Once dry, the mirrorback is then placed in a separate etching bath where it will be etched.
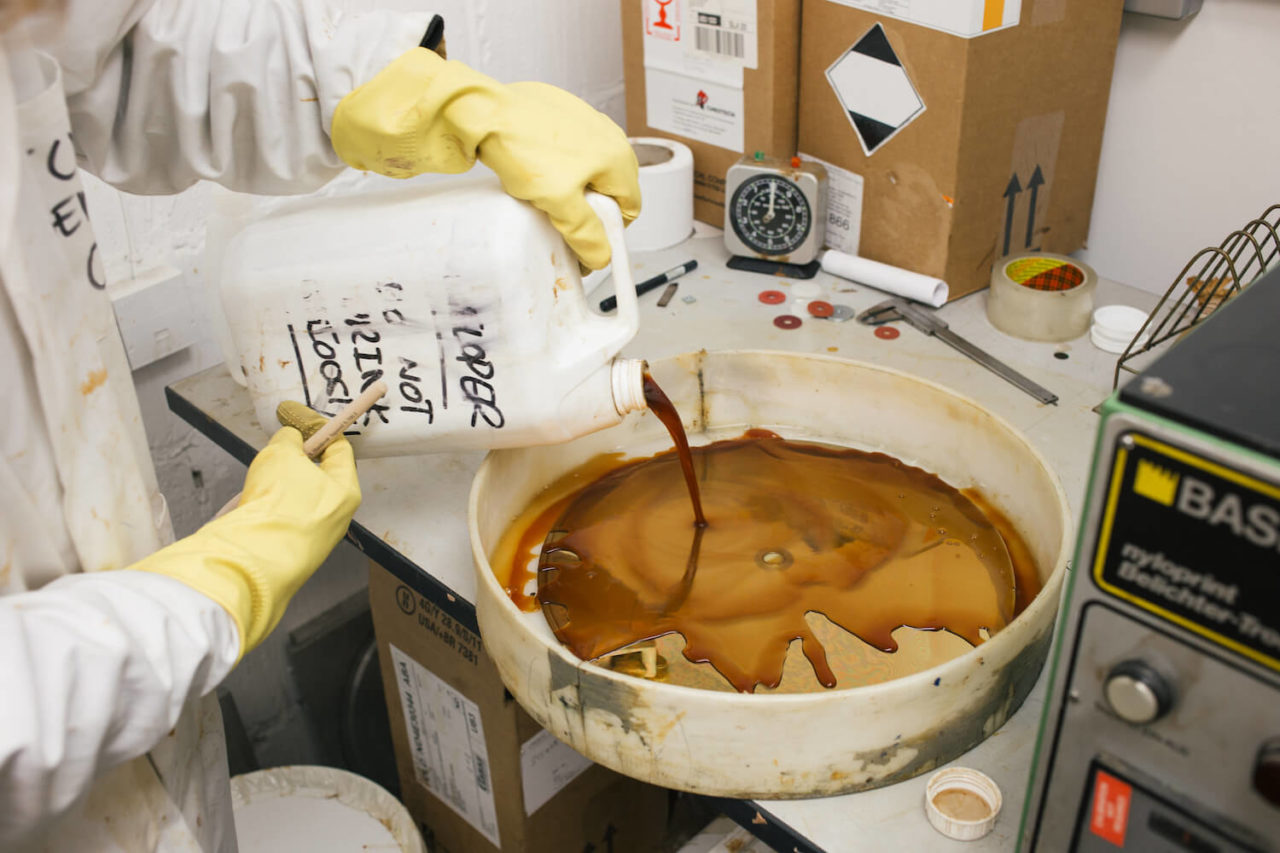
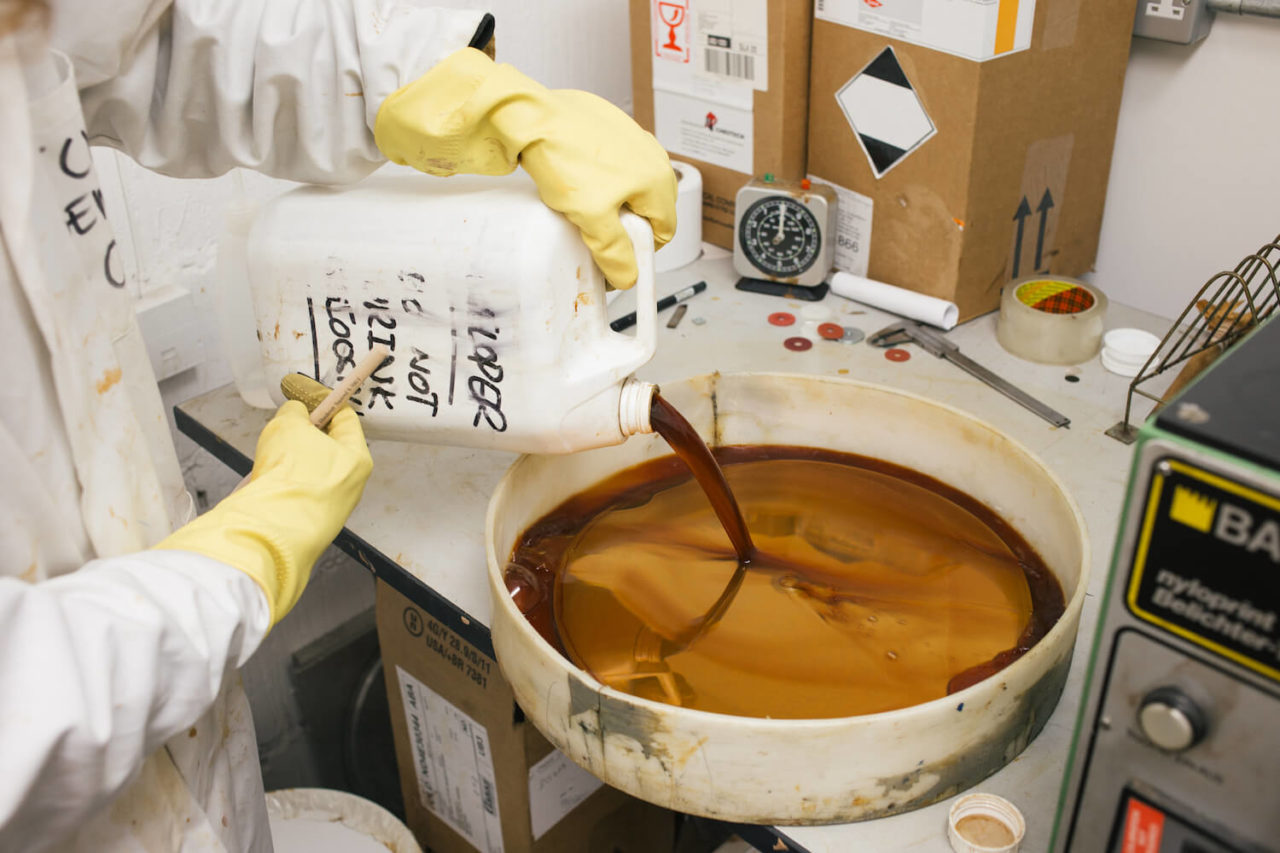
Ferric chloride is poured over the mirrorback, immediately corroding the mirror surface of the mirrorback where the protective dip layer has been removed by the developer.
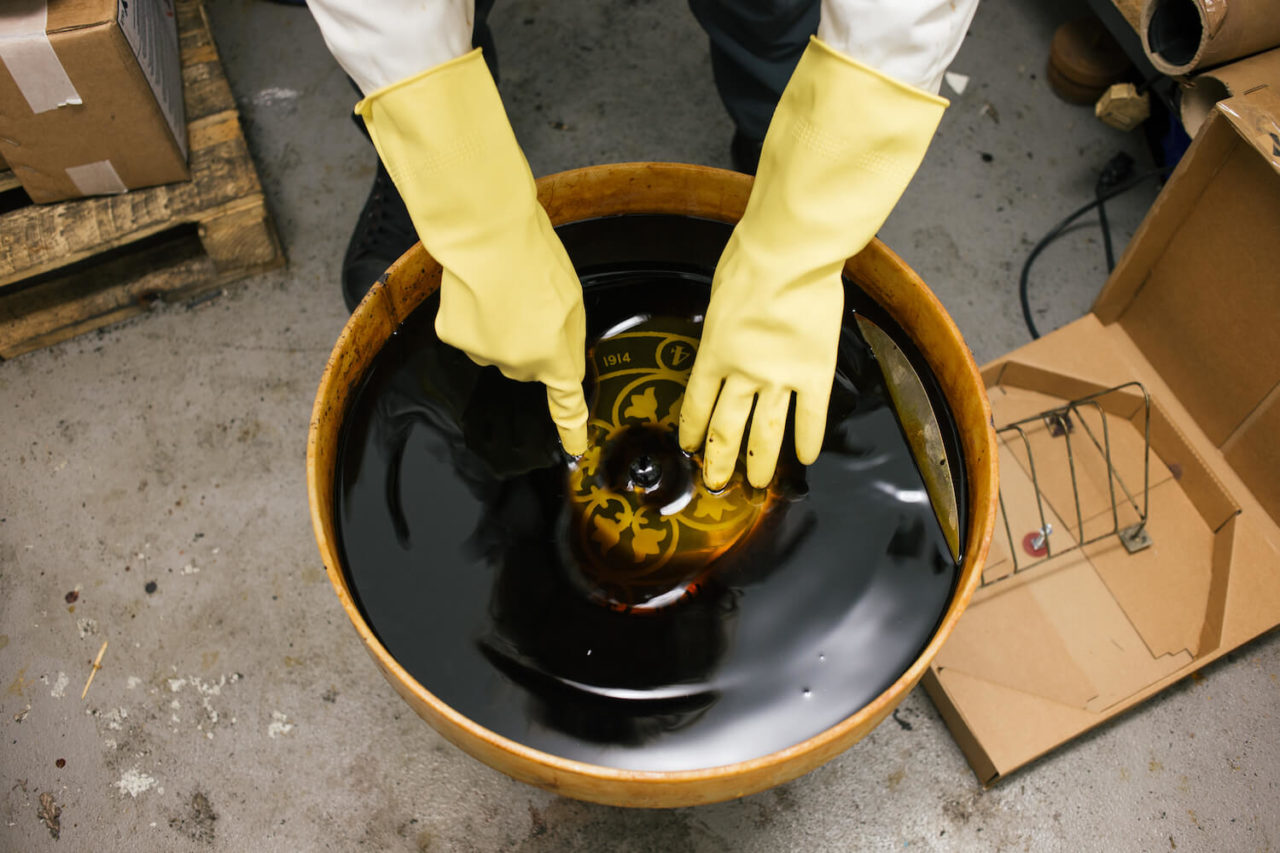
The bath is agitated to keep the active ingredient in the ferric chloride in constant contact with the mirrorback.
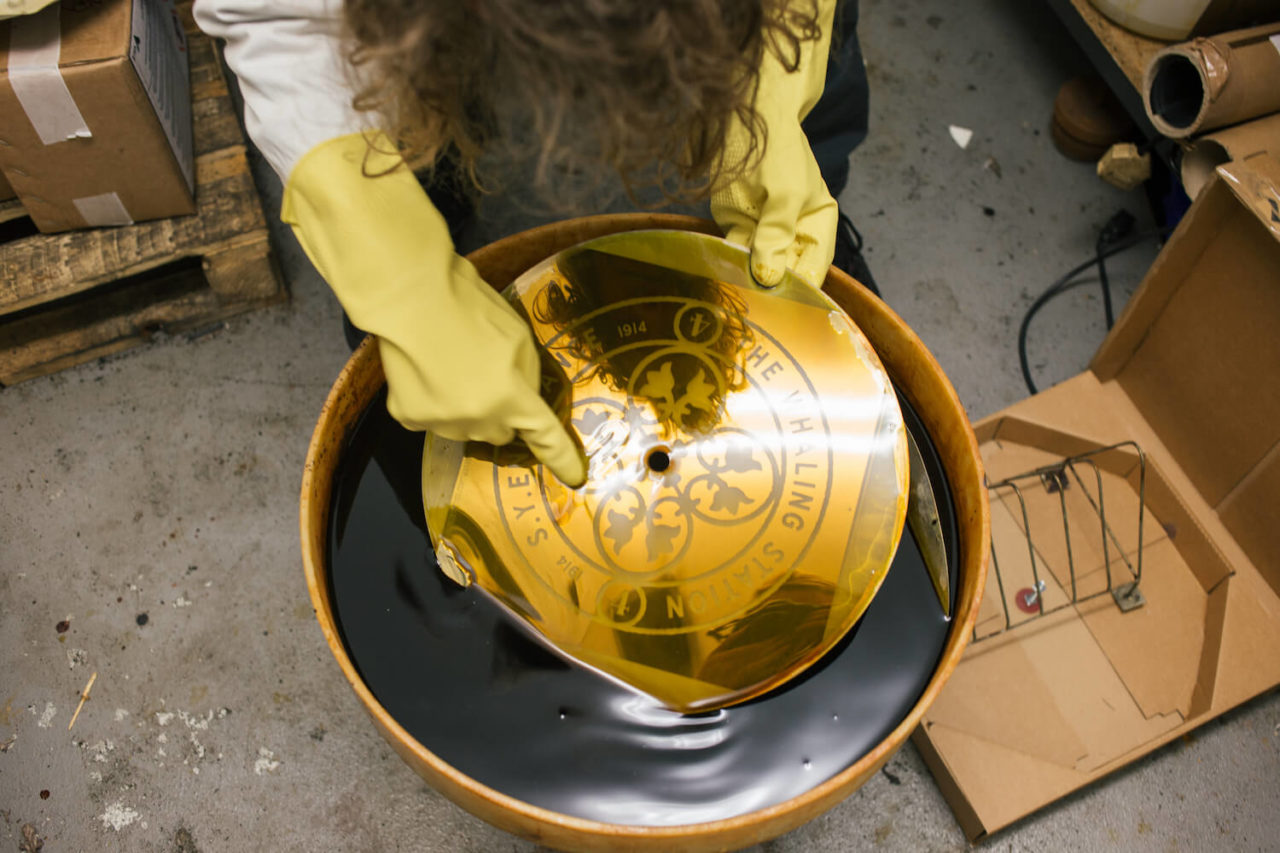
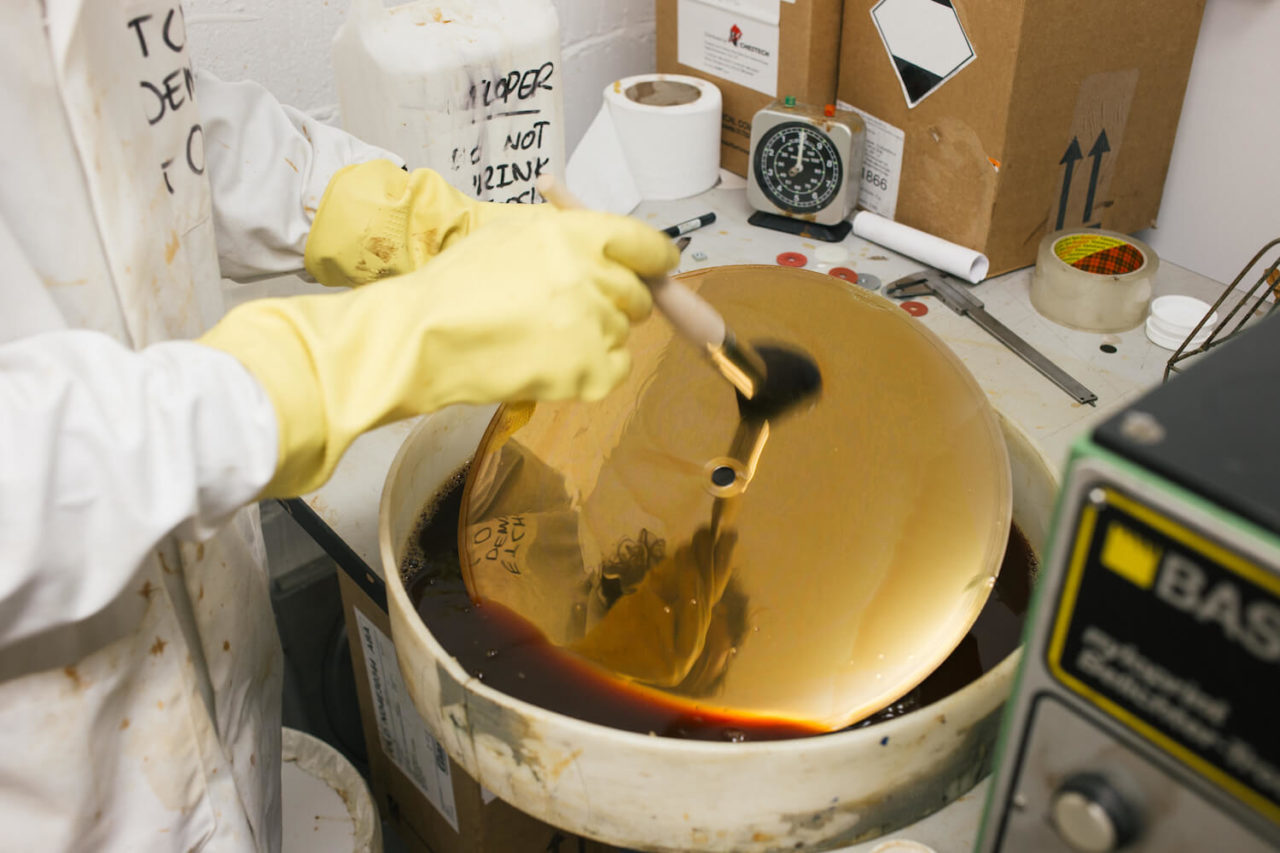
Although the design etches almost immediately, it is left in the solution to acquire the desired even finish of the etched design. It is checked every minute or so, until the etched design has as near-even a surface as possible. Due to the processes involved, large areas of etch can have a streaky effect. There is nothing that can be done about this, but if you leave it in the ferric chloride a little longer it can make this less dramatic.
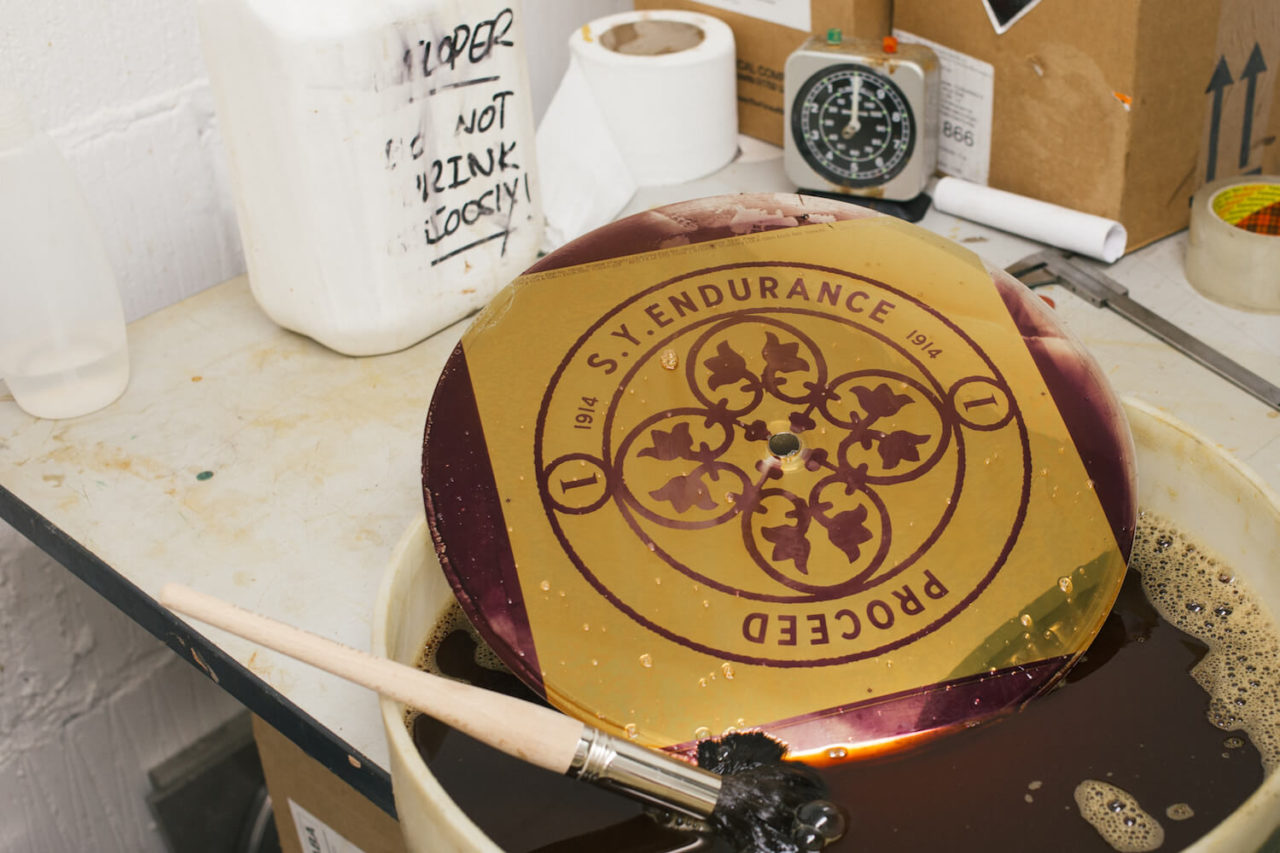
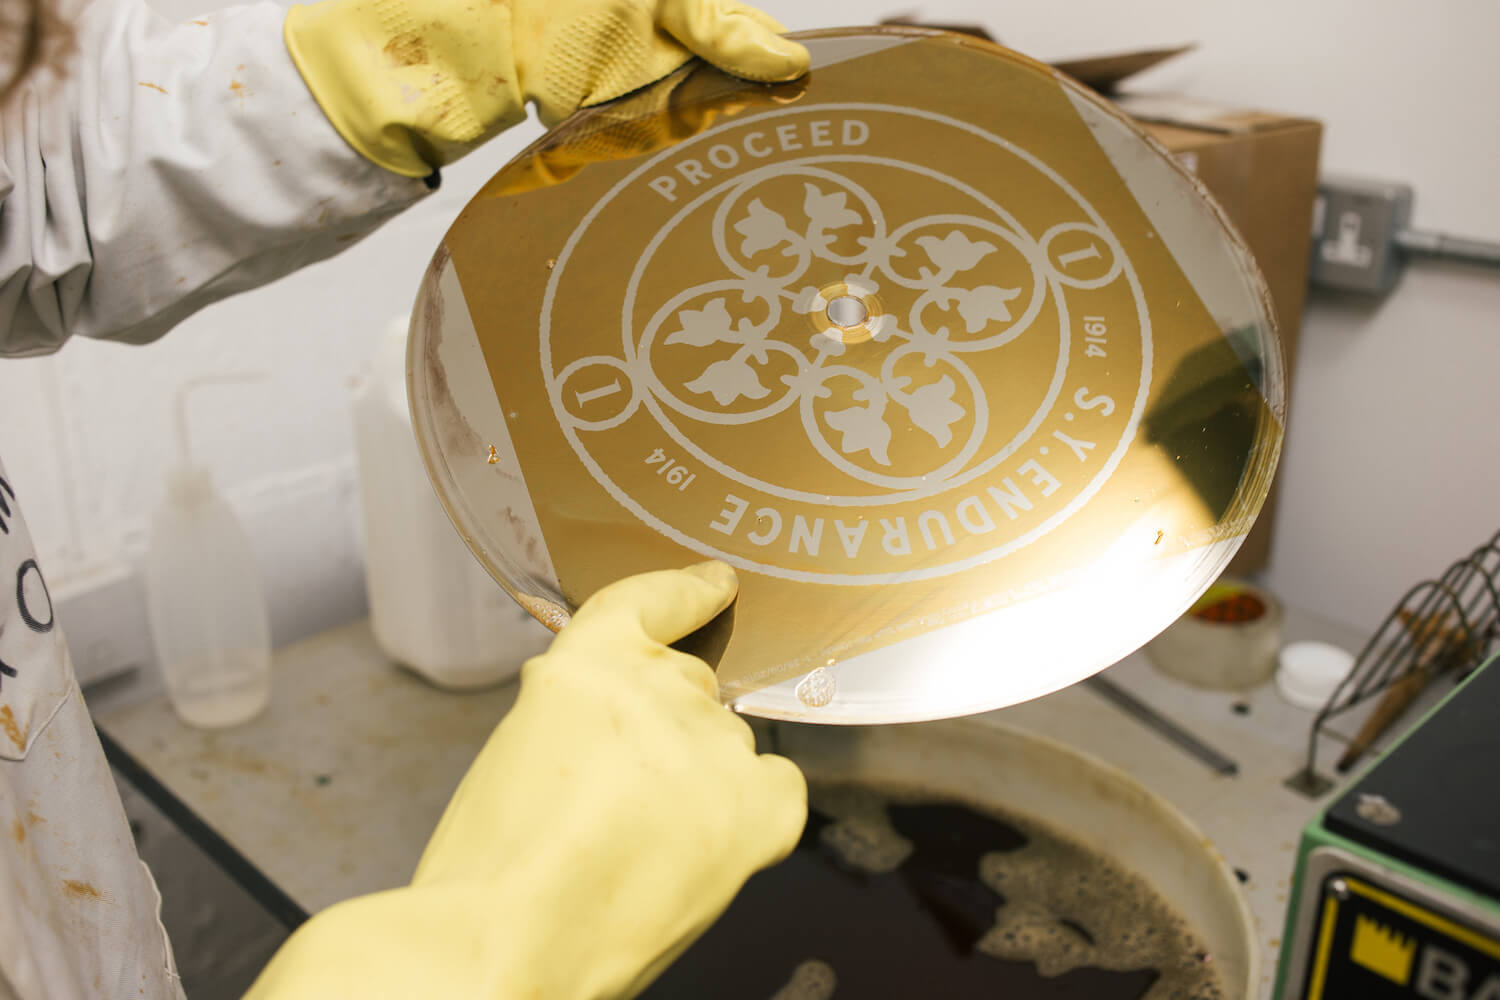
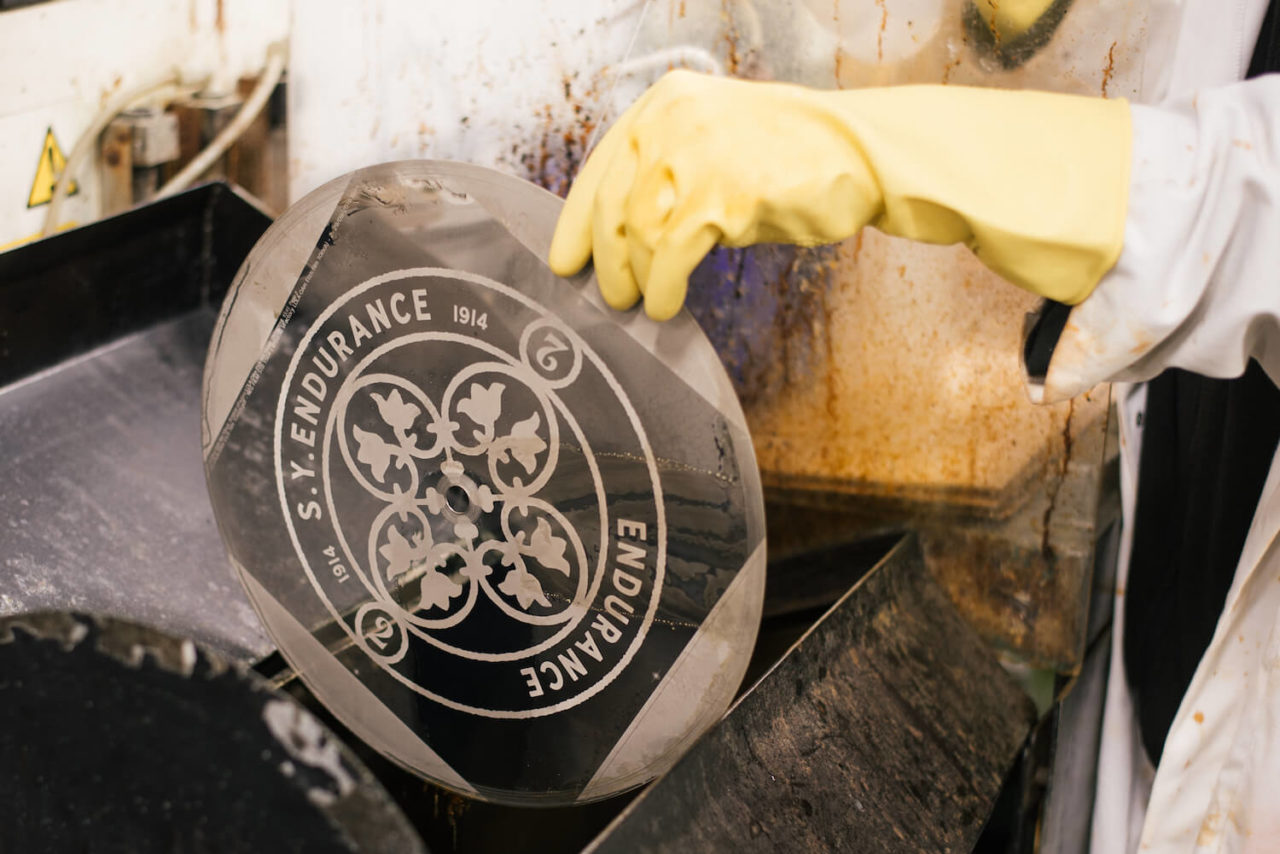
Once the etching engineer is happy with the etched mirrorback, it is drained of ferric chloride, placed in a metalwork rack and then transported back to the baths to be cleaned.
The mirrorback is cleaned with water, acid, and then water again. Like when it was cleaned after the developer solution.

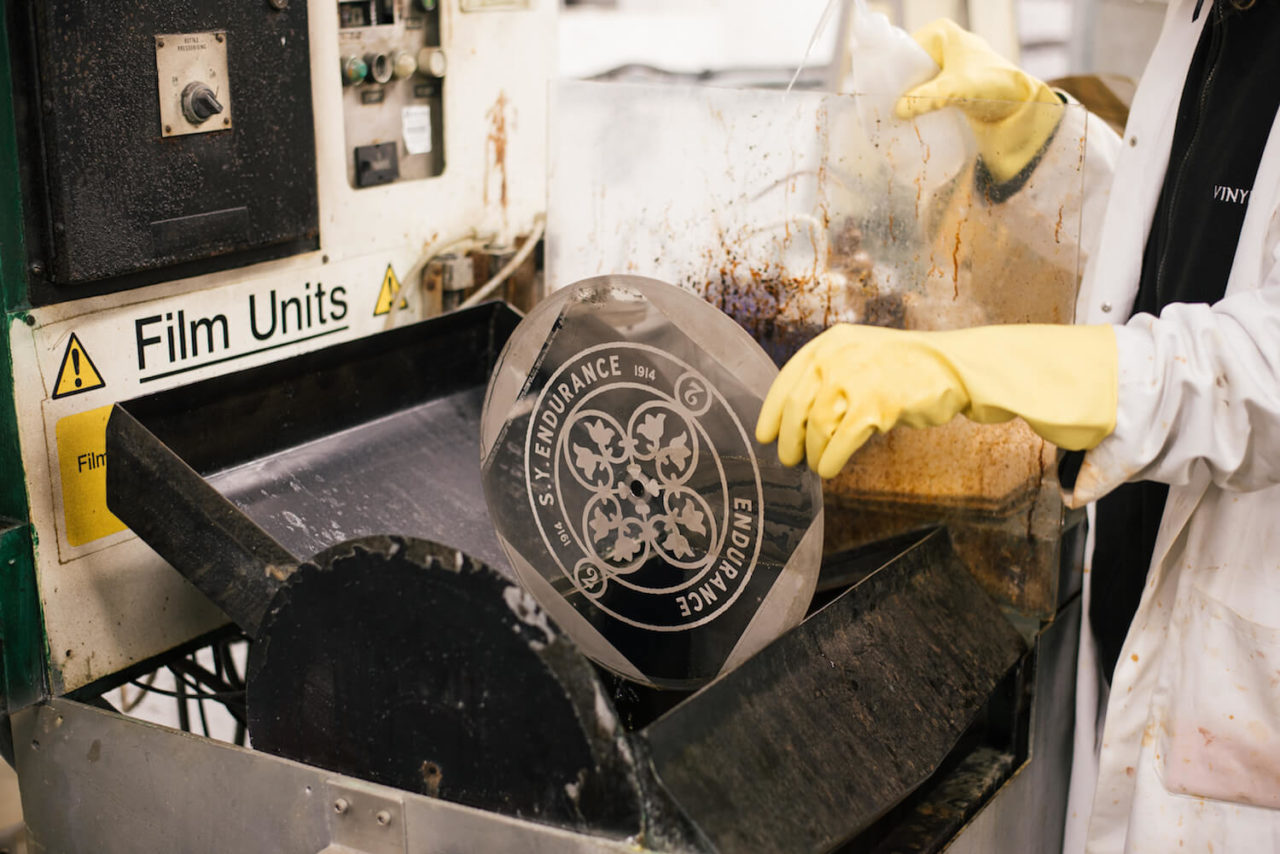
Using acetone, the mirrorback is stripped of the remaining UV sensitive dip, on both sides. It is then given one last blast of RO water, acid and water again and then is placed in the oven to dry.
The etch is ready to be pressed onto vinyl.

Sign up to our weekly newsletter
Never miss a thing